Are you a fan of DIY electronics? You’ll enjoy learning how to make a solar battery charger from scratch!
Having a DIY skill in electronics is not only a hobby but also a survivalist advantage. Here, the aim is to develop a quick fix that powers your devices with the sun. Follow the steps keenly as we seek to make a lithium 18650 solar battery charger with readily available materials.
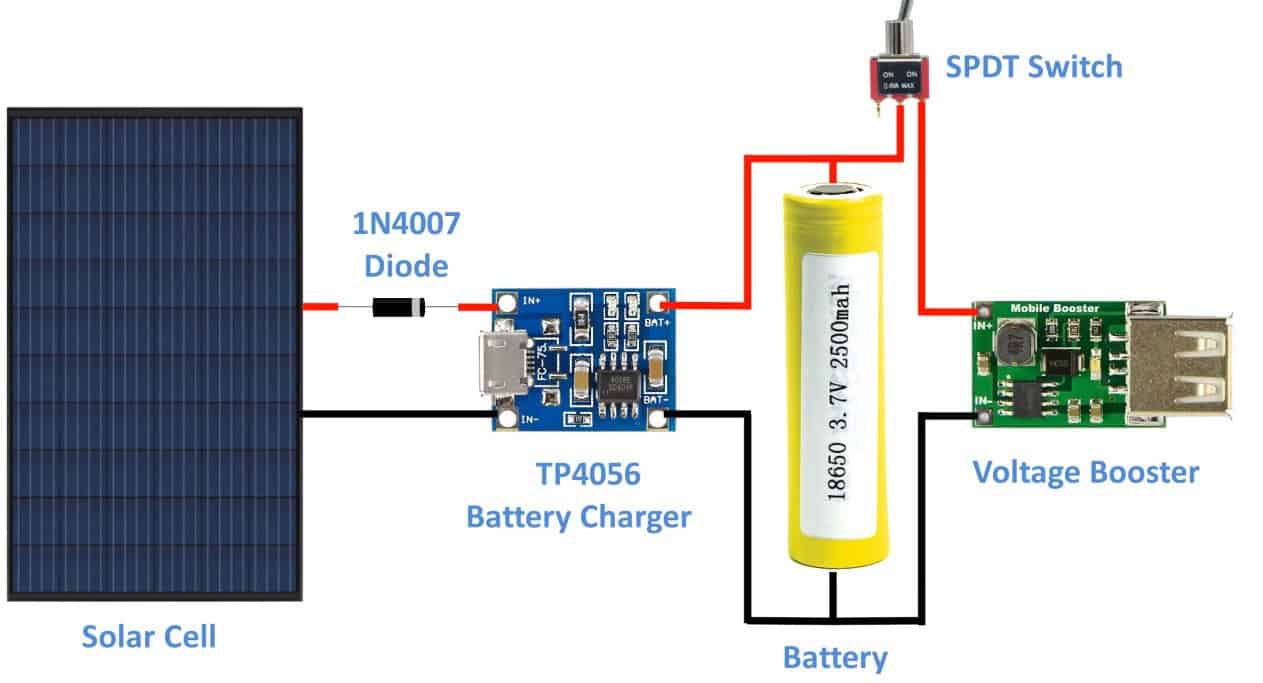
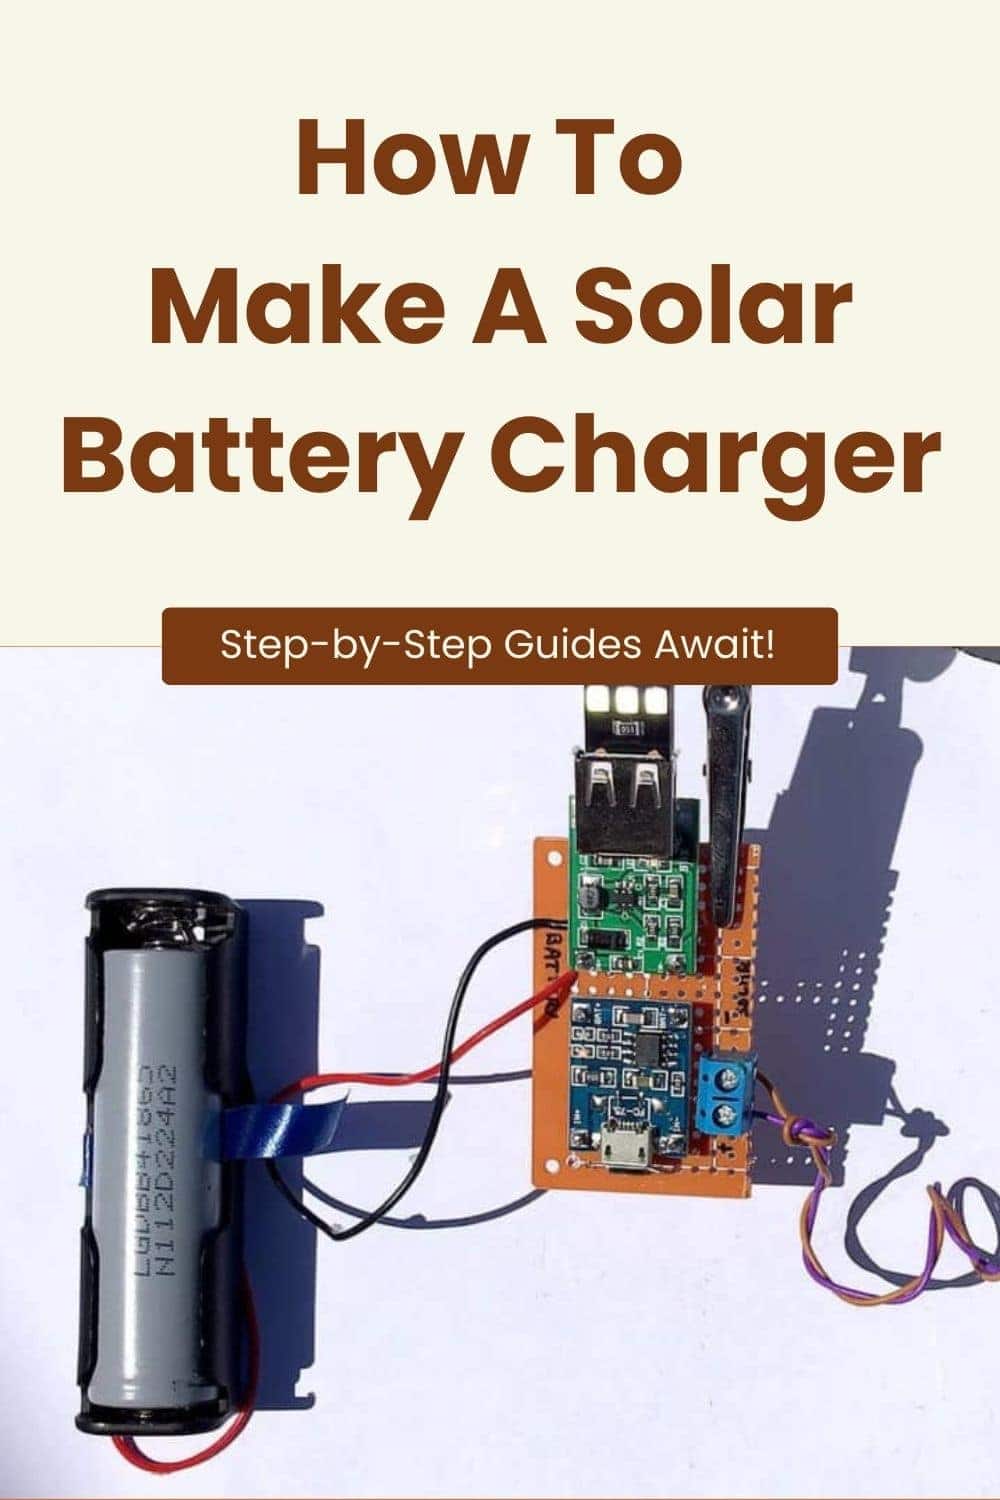
Making a solar battery charger from scratch is simple. Connect the solar cells to the TP4056 charger and then the 18650 lithium battery. Use a voltage booster to increase the voltage to 5V DC power.
In elaborate words, connect the photovoltaic cells to the TP4056 battery charger unit. Then, tie a 1N4007 diode on the positive connecting cable. Connect the positive and negative of the board to the corresponding ends of the battery. Now, boost the output from [the accurate voltage, e.g., 3.7V] to 5V by connecting the corresponding poles of the battery to the booster.
You can charge your mobile phones, electric torches, or other appliances with this solar charger. If you plan a picnic in a remote place, you can replace your power bank with a solar charger.
1. Fetch the hardware
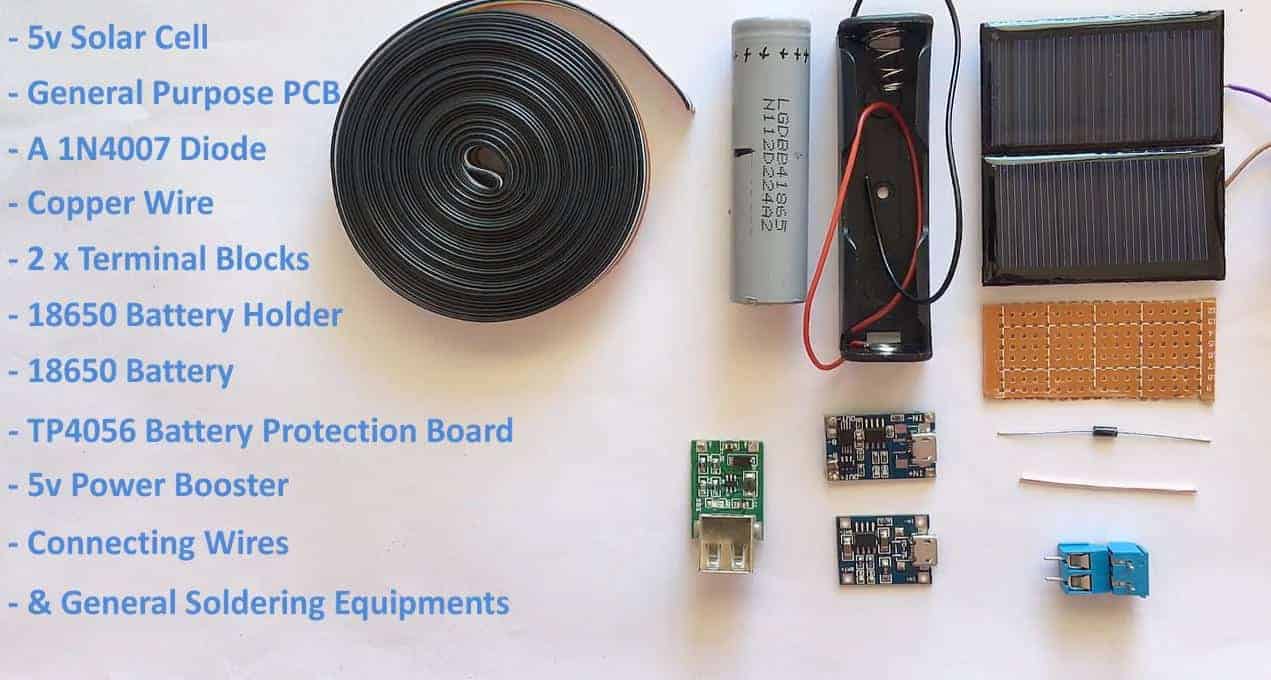
The first step is to bring all the hardware required. All requirements are available at your local hardware or electronic accessory stores. If you have any pieces in your electric waste junk, you can source some from there.
The 1N4007 diode has to be rated at a high current. Basically, this component prevents the voltage from flowing backward. Also, peak the diode with a 1A and 1000V reverse voltage rating. You can test these qualities with your measuring equipment.
For as low as $5, you’ll get a charger that does not require any grid power. The battery may cost a few more, but the whole project should not exceed ten bucks.
Of course, the presumption here is that you have all the equipment and won’t have to buy any tools. Then, you should possess basic electrical DIY skills such as soldering and following instructions!
- A 5V photovoltaic cell
- Copper wire
- SPDT switch
- 5V power booster
- 7V 18650 battery and holder
- Connecting cables
- Two PCB terminal blocks
- General circuit board
- 1N4007 diode
- Soldering tools
2. Understand how your solar battery charger will work
Understanding the role that each component in your circuit plays increases your odds of doing it right. At least, you know why the diode is closer to the panels than the booster. So, seek to know what’s happening in the new circuit, and everything else will be simple.
The panel’s photovoltaic cells convert sunlight into DC power. The current flows into the TP4056 through the connection cables.
The 1N4007 diode prevents the power from flowing back and thus maintains a one-way flow of power. Then, the circuit has a micro-component that allows power to store in the battery.
By now, you’re already charging the battery. This could be the place you want to place your phone lithium-ion battery.
But, you can wait a little longer as the booster increases the power from about one volt to five or more. Use an SPDT switch to control the flow and charging process.
If you connect a USB cable to the poles, you can charge your phone or other appliances.
You can have two LEDs – one red and another blue- to monitor how the charging occurs. The blue LED shows that your charging is complete, but the red shows charging is in progress before it lights up.
3. Have an assembly strategy
By now, you already have every component that your circuit requires. And you understand how each of these parts works.
The next step is to conceptualize a strategy on how to make your solar battery charger. Drawing it on paper makes your assembly quick.
Determine which components you will start with and which ones will be the last. Some technicians start with the last item on the circuit. It’s a safety measure that ends with installing the power source, in this case, the PV panels.
But, it’s not a rule engraved on stone, and you have absolute freedom to start with whatever component you feel like.
Then, test to confirm that every component is working. Use your equipment to find out if the rating on each part is accurate.
4. Assemble by soldering the parts
In our tutorial, we’ll start assembling from the source of power to the exit. We’ll arrange all the components on the board, starting with the solar power poles to the USB end.
The aim is to have a safe connection between the solar cells and the battery through the charging boards.
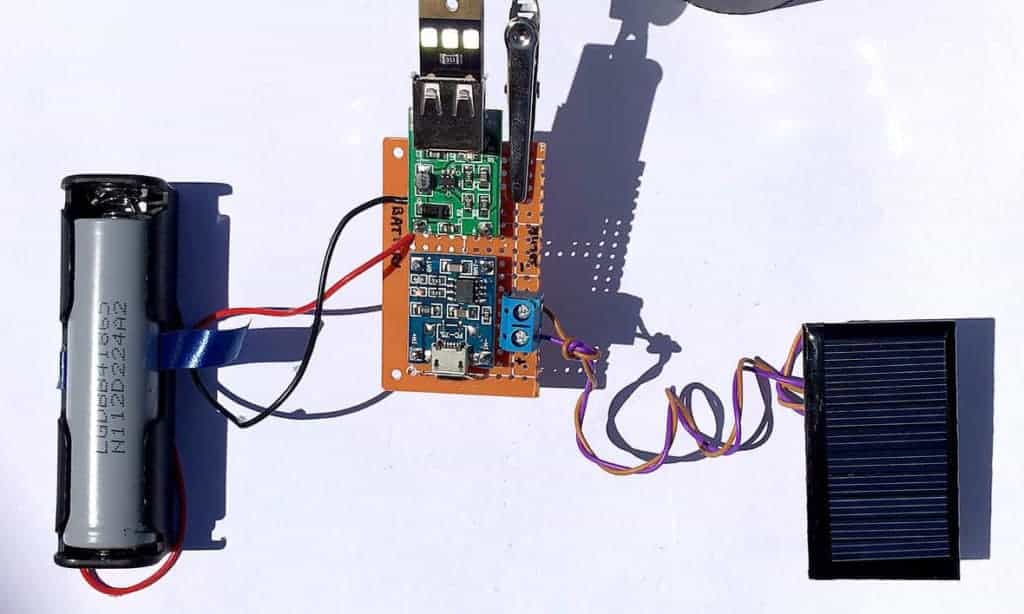
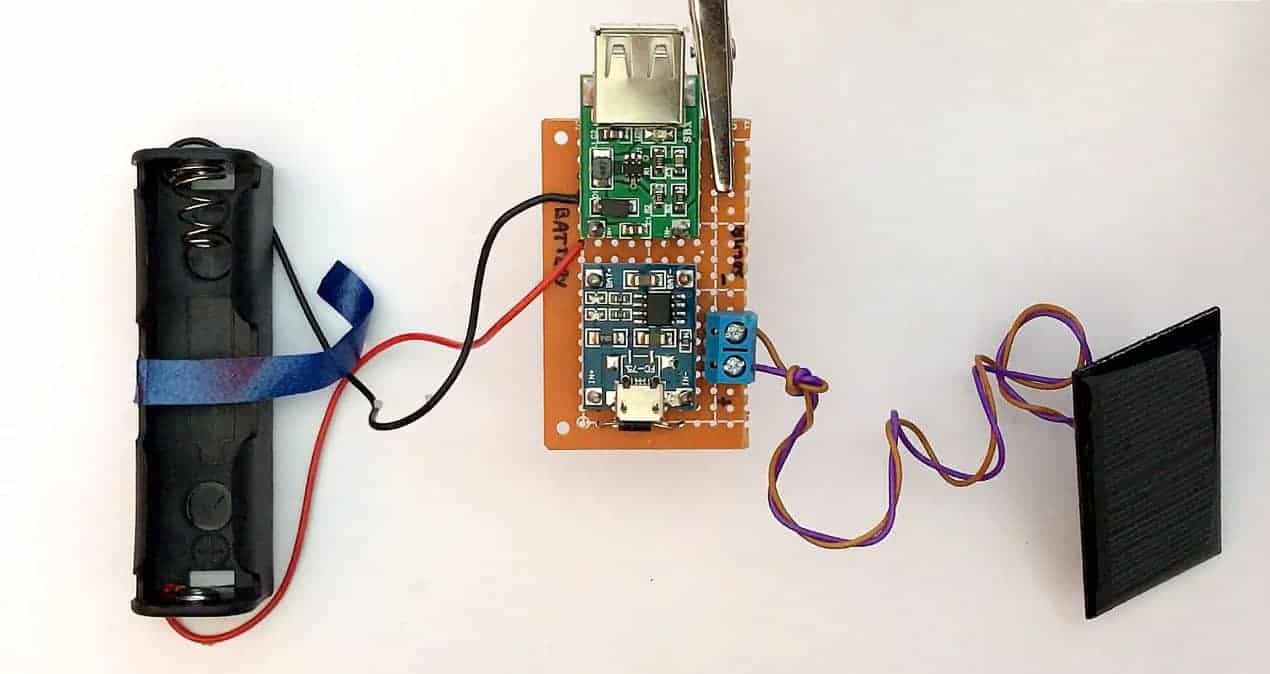
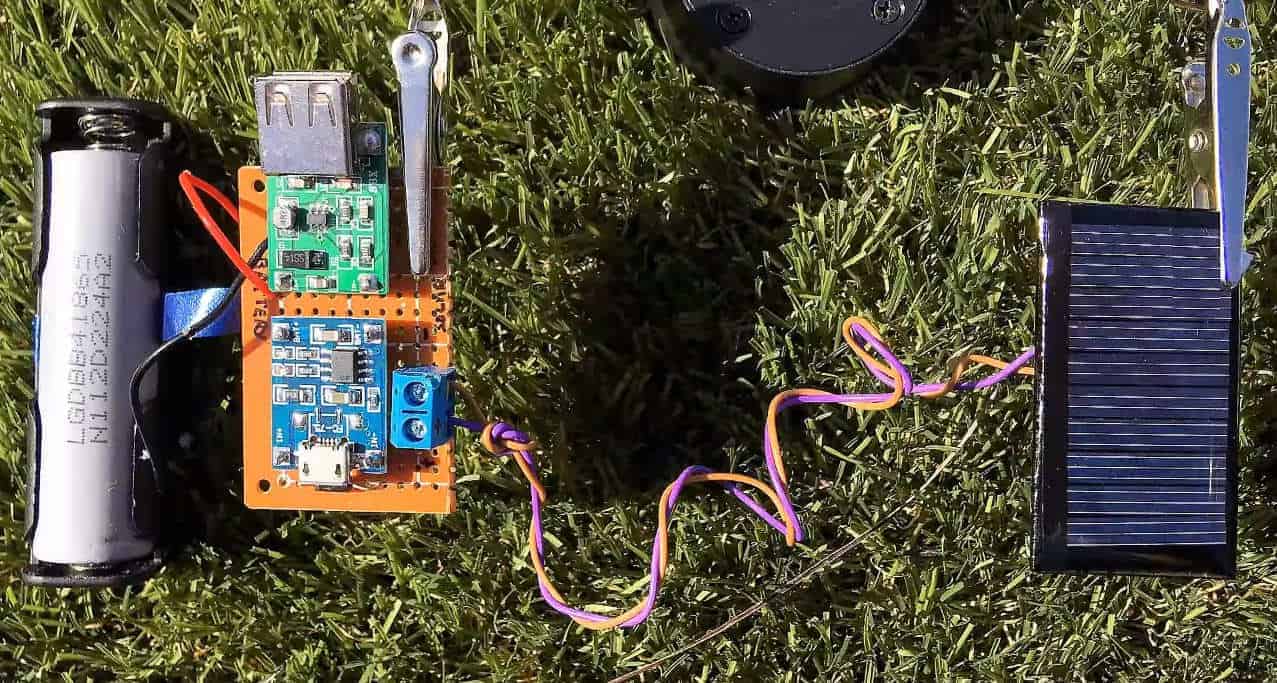
Aim at getting a connection that looks like this:
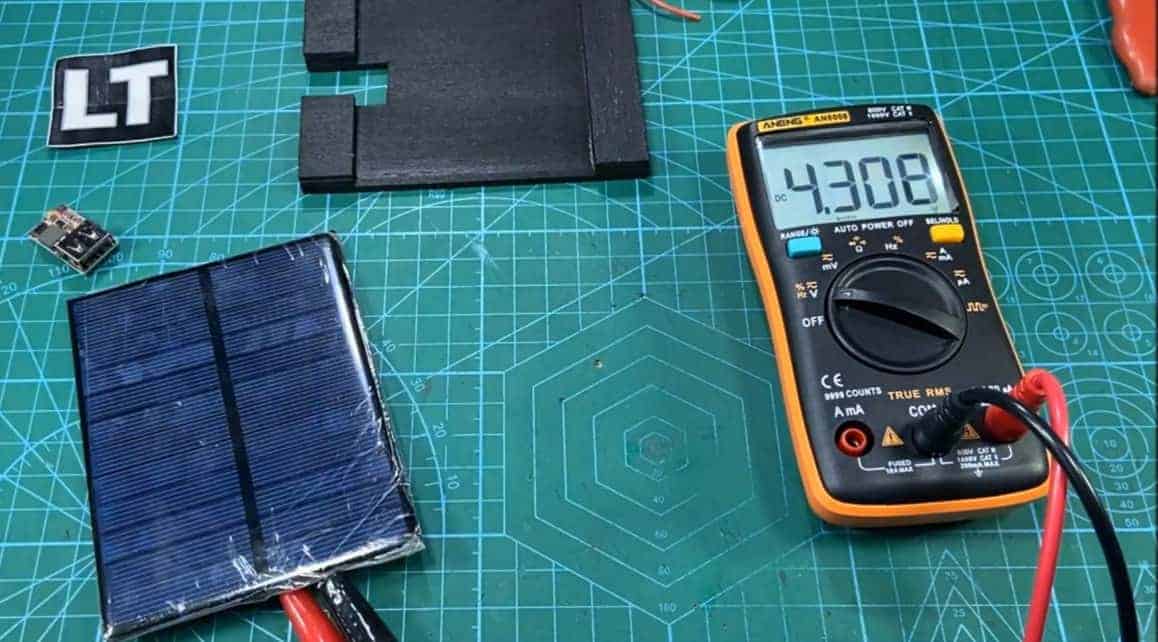
So, the first step is to check whether the photovoltaic cells are functional. Place it under the sun and check the voltage on the voltmeter.
5. Then, put the board in place.
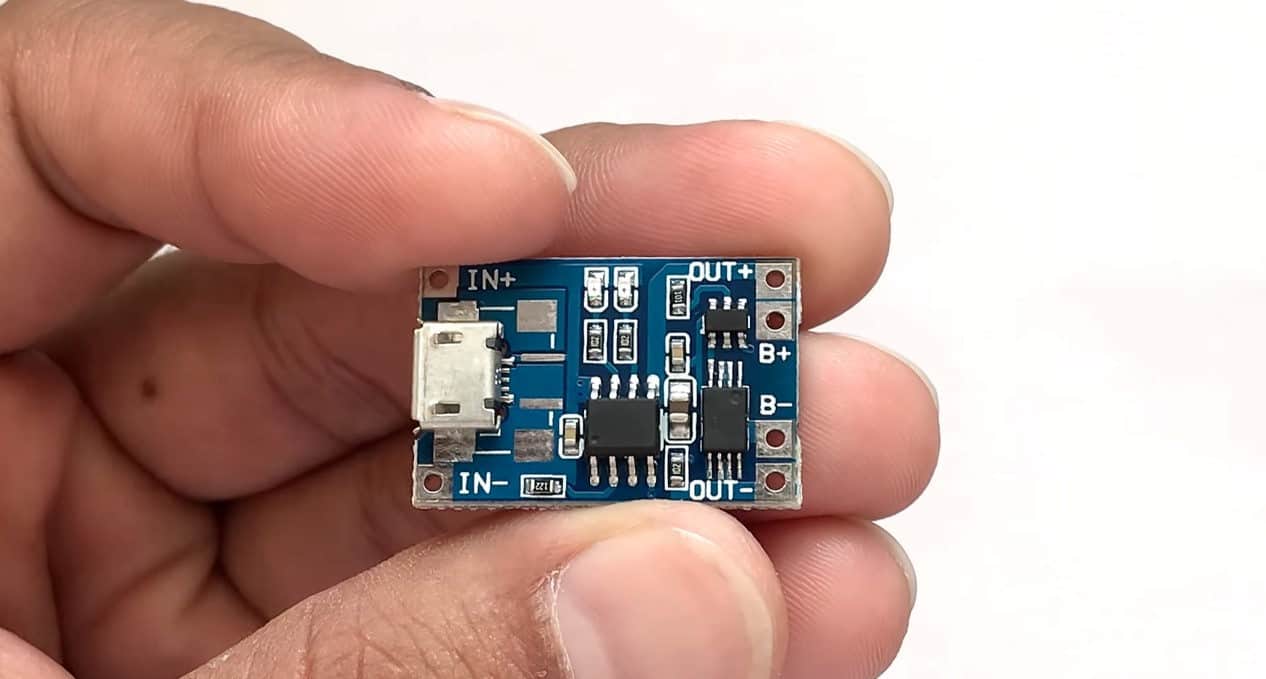
The board can have the battery discharge protection module or not. Each of these boards has a 1A rating.
The board with protection will switch off when the voltage drops below 2.4 volts. The battery discharge protection module prevents the batteries from over-voltage as well as the reverse polarity connection. Such protection enhances battery life and durability.
So, power will not move from the battery backward, especially during a cloudy day. It’s pretty much your choice to make. The diode fortifies this by preventing any power from flowing back.
6. Install the board on copper legs
The TP4056 boards will heat up sometimes, and you need to lift them away from the rest of the circuit components. Solder the board on copper legs to avoid meltdowns.
Install four copper legs that will hold the board. Then, slide the holes of the board onto the copper leg and solder it in place.
The BAT+ should correspond with the positive end of the battery while the BAT-side goes with the negative.
7. Boost up the power
The power leaves the TP4056 battery board at a low voltage of about 0.9V. So, it requires boosting before it can go to the Arduino board.
A 5v voltage booster, therefore, connects to the circuit and increases the voltage. It’s at this stage that you should add an Arduino Uno board, depending on your circuit. Connect the positive (+ve) terminal of the battery to the IN+ of your booster, and the negative (-ve) terminal to the IN-.
Add an SPDT switch to connect the charger to the booster. You can now connect your charger to any device you want to power.
8. Test the solar battery charger
Confirm that your circuit works by testing it. First, look at what you have, and ensure all your components are in place. Using your voltmeter, check the voltages for every stage of the circuit.
The charging voltage should read about 4.2V. Consider recharging the battery when it reaches around 3.2V to avoid overly discharging it.
Then, the voltage that gets into the booster should be around 0.9 volts and 5.0 volts. The charge that flows from the booster should read a constant 5V. If it’s lower or higher, your circuit has an issue.
How to Make a Solar Battery Charger With Other Circuits
Various circuits can lead to a good and creative solar battery charger. We’ve thought out a few ways in which you can utilize locally available materials to make a performing solar charger.
Most DIY projects here follow the principle and circuit we’ve shown in the solar panel charger above. A few DIY ideas change the models of the charging board or the booster, but the central concept is the same.
Here are some exciting solar ideas that may quench your DIY pursuits.
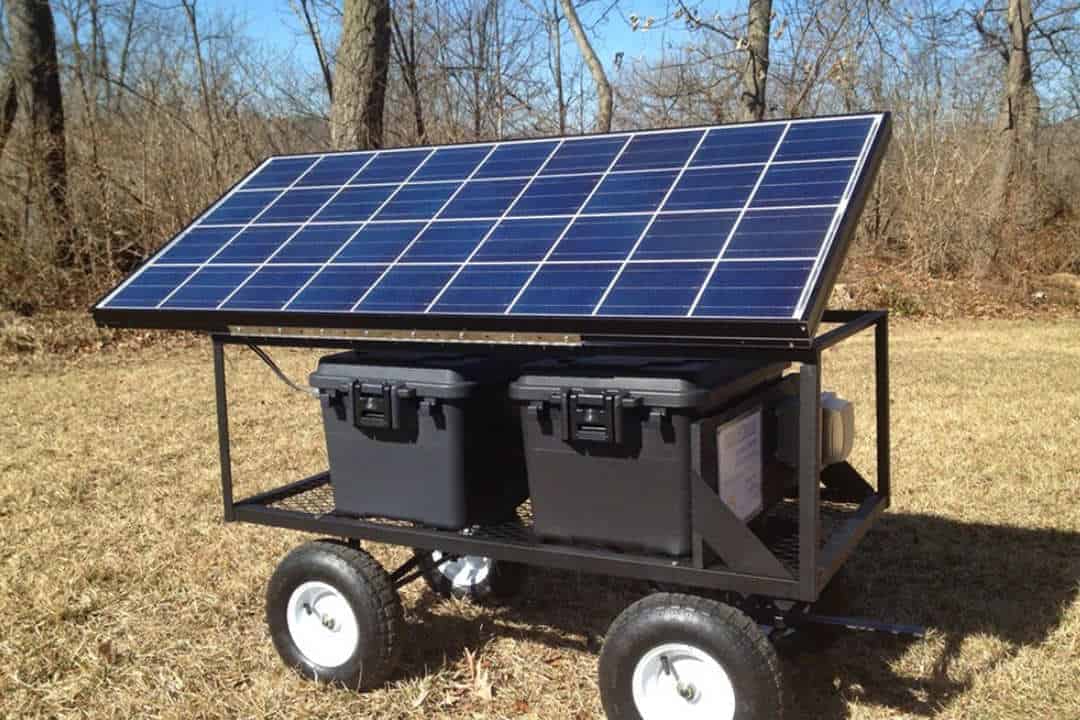
Building a Charging Station
When you go camping or have an outdoor party, you’ll want to power your activities. Even in the middle of nowhere, solar panels can come in handy and light up your entire camp!
Building a solar charging station is easy, and all you need is a portable solar panel, cables, controller, inverter, and battery. Then, follow the following procedure:
- Install the solar panels
- Place the batteries
- Now, bring the solar controller.
- Use cables to connect all components to the inverter
- Connect the inverter to the extension cables and sockets.
- Charge your devices, appliances, or electric car.
Making a Solar Power Charger With Old Grocery Bag
- Cut the grocery bag into pieces whose size can support the panels and other components. Prepare the fabric properly.
- Connect your panel in parallel.
- Solder all leads into the panels,
- Now, solder the buck converter to the leads.
- The charger should remain attached to the rest of the unit. Glue it to the fabric.
- Test your solar charger.
Making a Solar Charger With Old Laptop Battery
- Drill USB ports into the plastic container and join them.
- Use a foam cushion to place the boot converter and glue it in place.
- Then, put the foam cushion onto the TP4056 and glue it.
- Mount the boards using pads.
- Solder the diode to the negative terminal.
- Drill cable slots to the solar panels.
- Use hot glue to stick your recycled laptop battery.
When Are You Making Your Solar Charger?
A solar charger stores power from the sun to charge phones, radios, and laptops, among other devices. As long as the sun shines, you’ll have a reliable off-grid power supply.
Knowing how to make a solar battery charger makes it easy to camp or go off-road to remote areas. If anything, you just have to flash out your DIY charger, face it to the sun, and power your devices.
The techniques and ideas we’ve provided in our post will help you create a DIY solar appliance that will solve your power problems.

