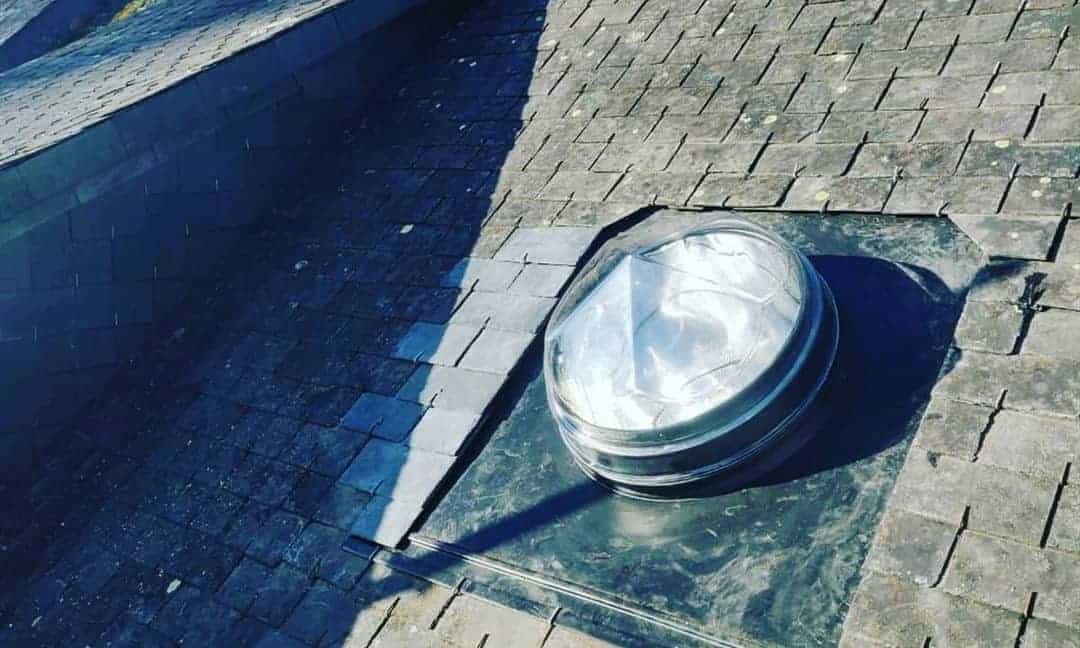
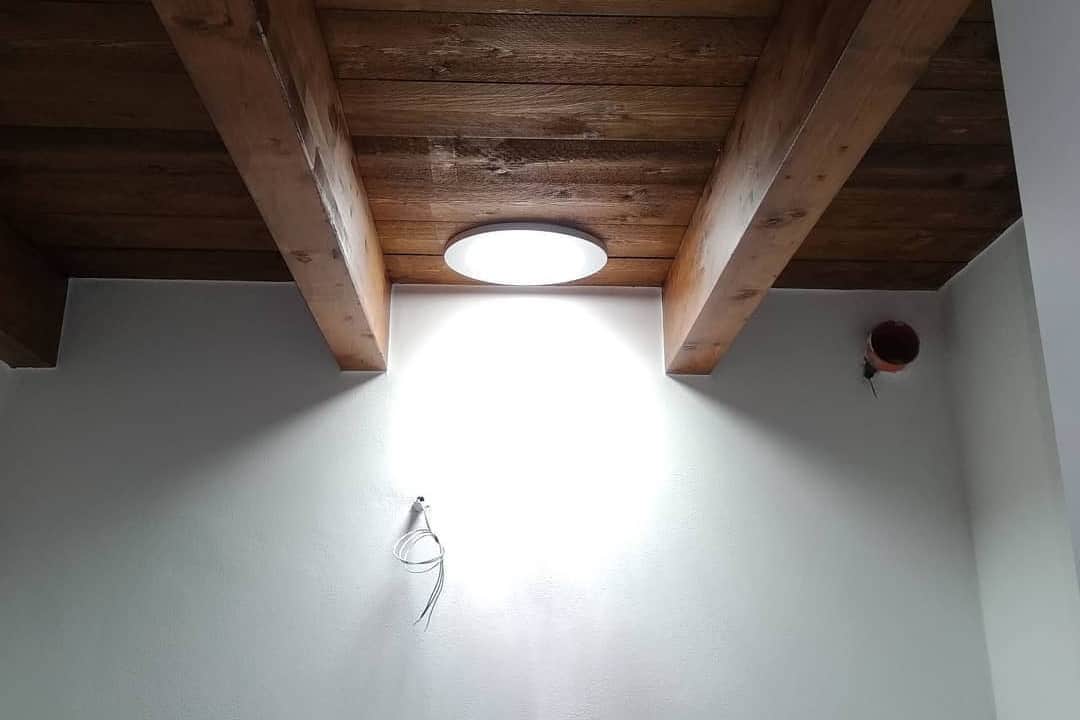
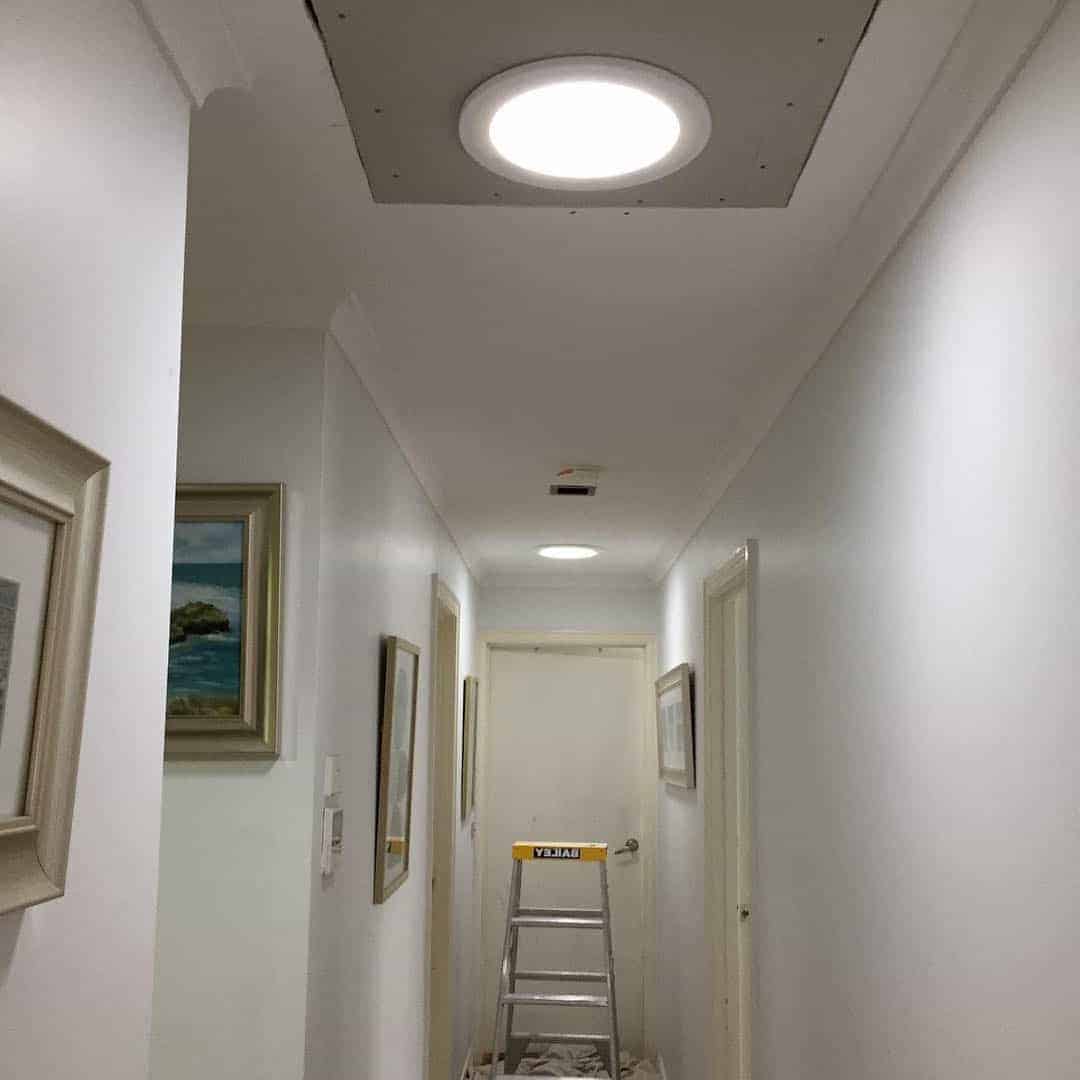
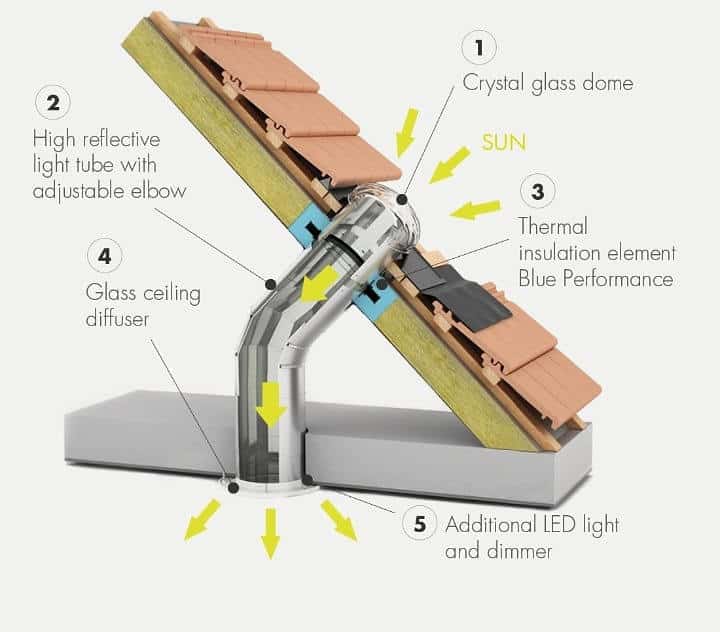
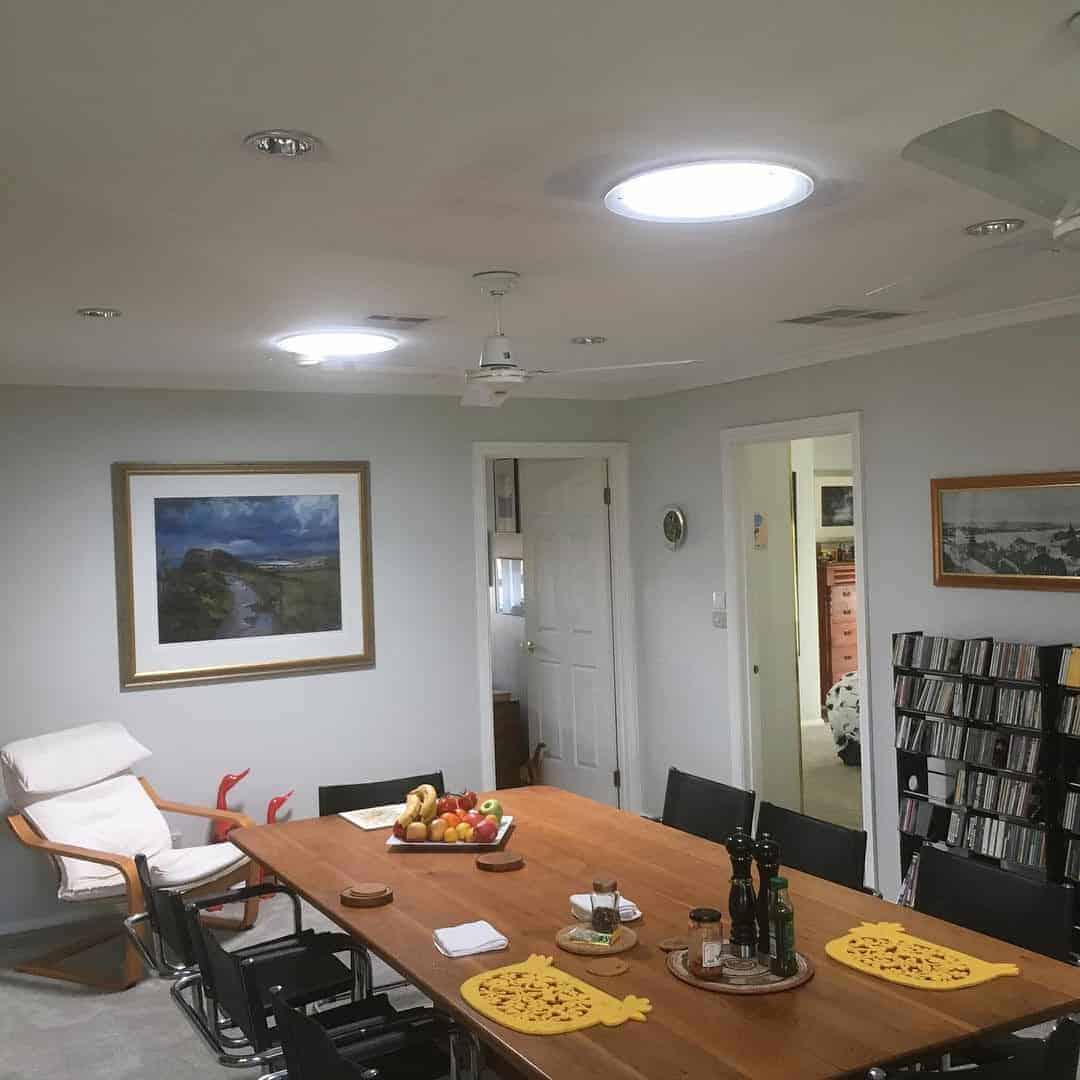
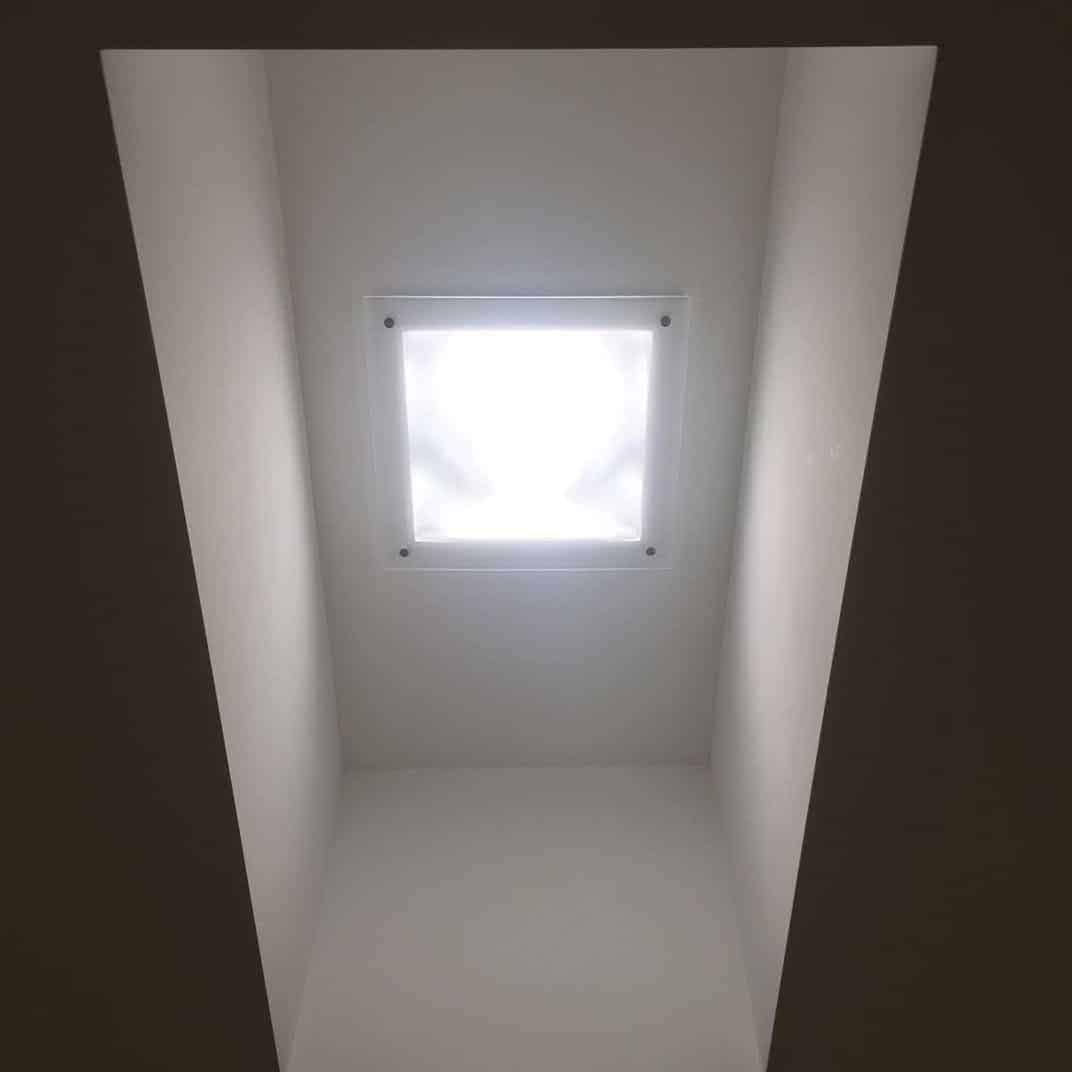
Solar tubes, also known as tubular skylights or sun tubes, can offer an energy-efficient and eco-friendly way to light up a dark space. Reflective tubular columns running through your ceiling and roof direct the sun’s rays into your interior spaces. Solar tubes are an ideal option for rooms with limited or no windows, including bathrooms, closets, and hallways.
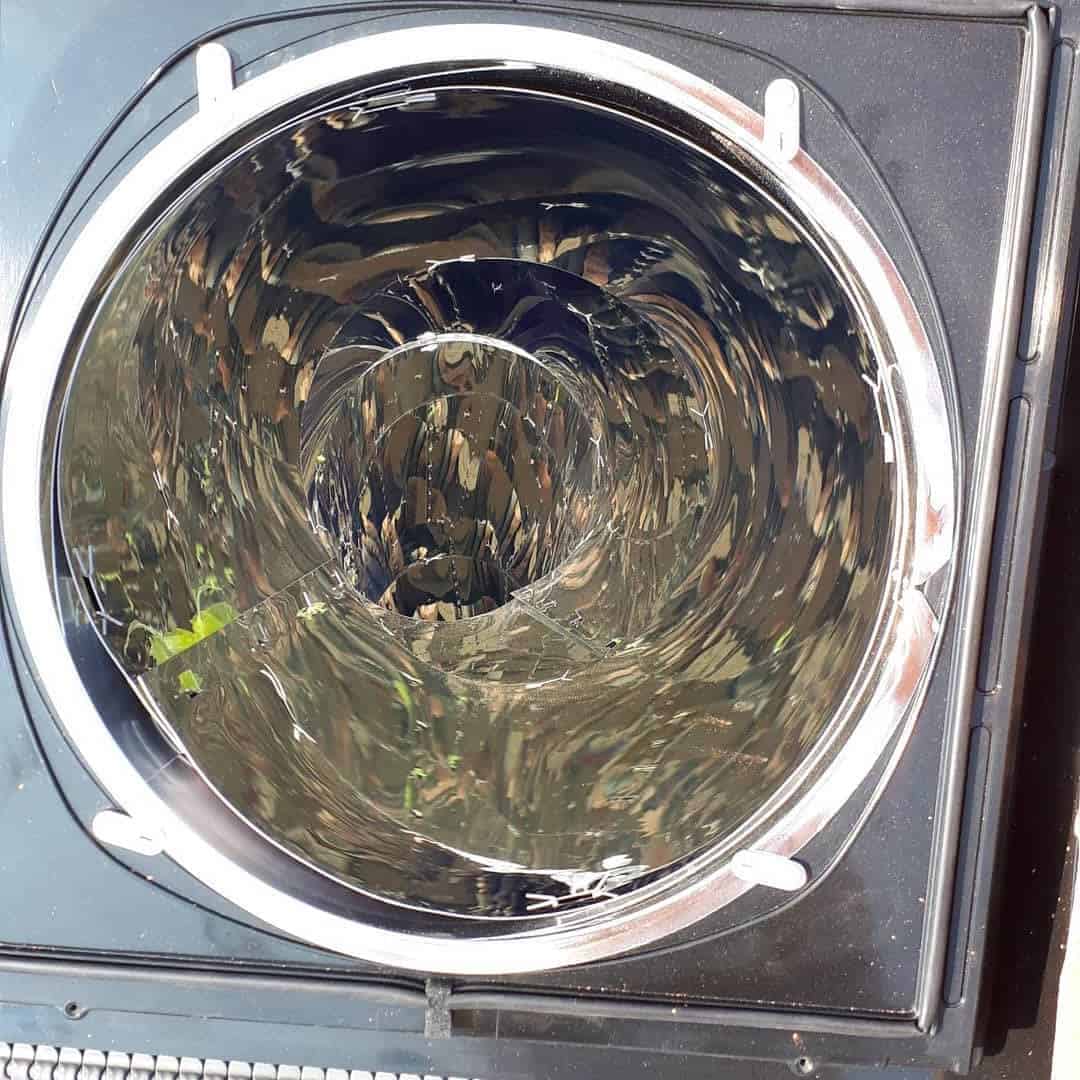
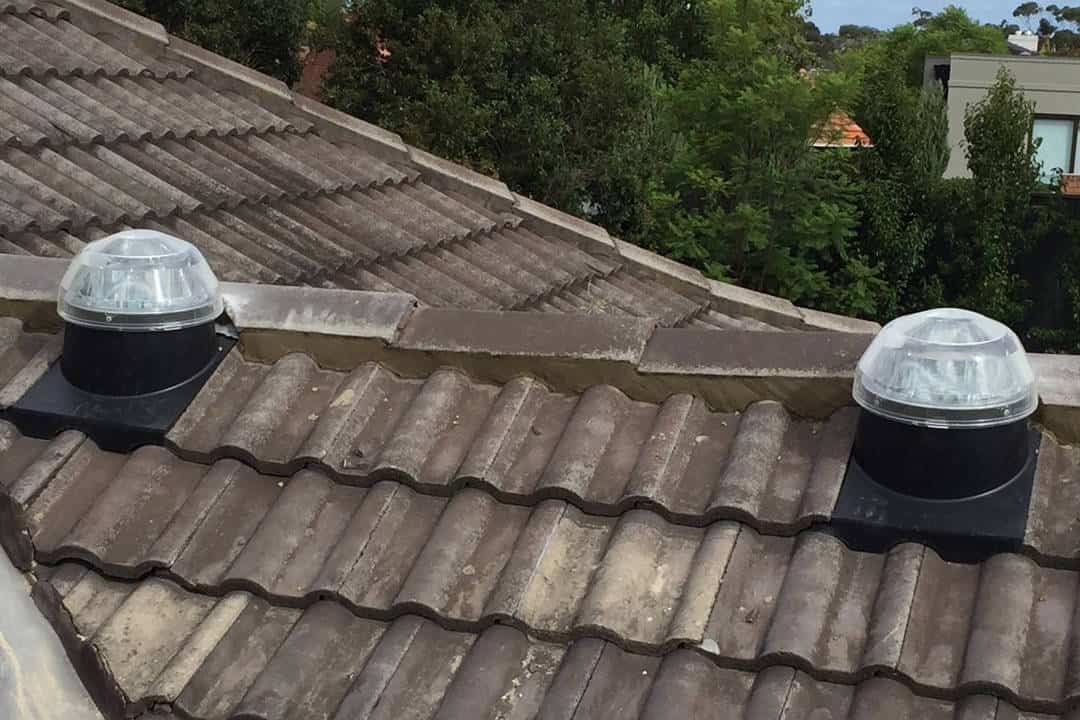
Solar tube lights come equipped with diffusers that soften the sunlight and disperse the rays in patterns to brighten the entire room. However, the roof end of the tube where the dome is attached tends to gather dirt and debris over time, and the diffuser can catch stains as well. If this happens, the solar tube lighting system becomes less effective in channeling the natural light into the room.
Regularly cleaning your solar tube lights helps to keep your interior spaces well-lit. In this tutorial, we look at the step-by-step guide on how to clean solar tube lights to optimize their performance throughout the year.
What You’ll Need:
Before you start cleaning your solar tubes, you’ll want to be sure you’ve assembled all the cleaning supplies and tools needed for the task. These include:
- ladder
- Soft brush or broom
- Non-abrasive glass cleaner or damp cloth
- Clean lint-free cloth or a squeegee
- bucket
- Soap
- Water
Solar Tube Lights Cleaning Steps:
Step 1- Safety First
You’ll need a strong and safe ladder to access the solar tube light on top of the roof. And make sure you know your working limits! Working on an elevated surface isn’t all wine and roses.
If your roof is too high and you think you won’t be comfortable, seek professional help. You should always put your safety first because falls from heights can be lethal.
Step 2 – Examine Your Solar Tube Light
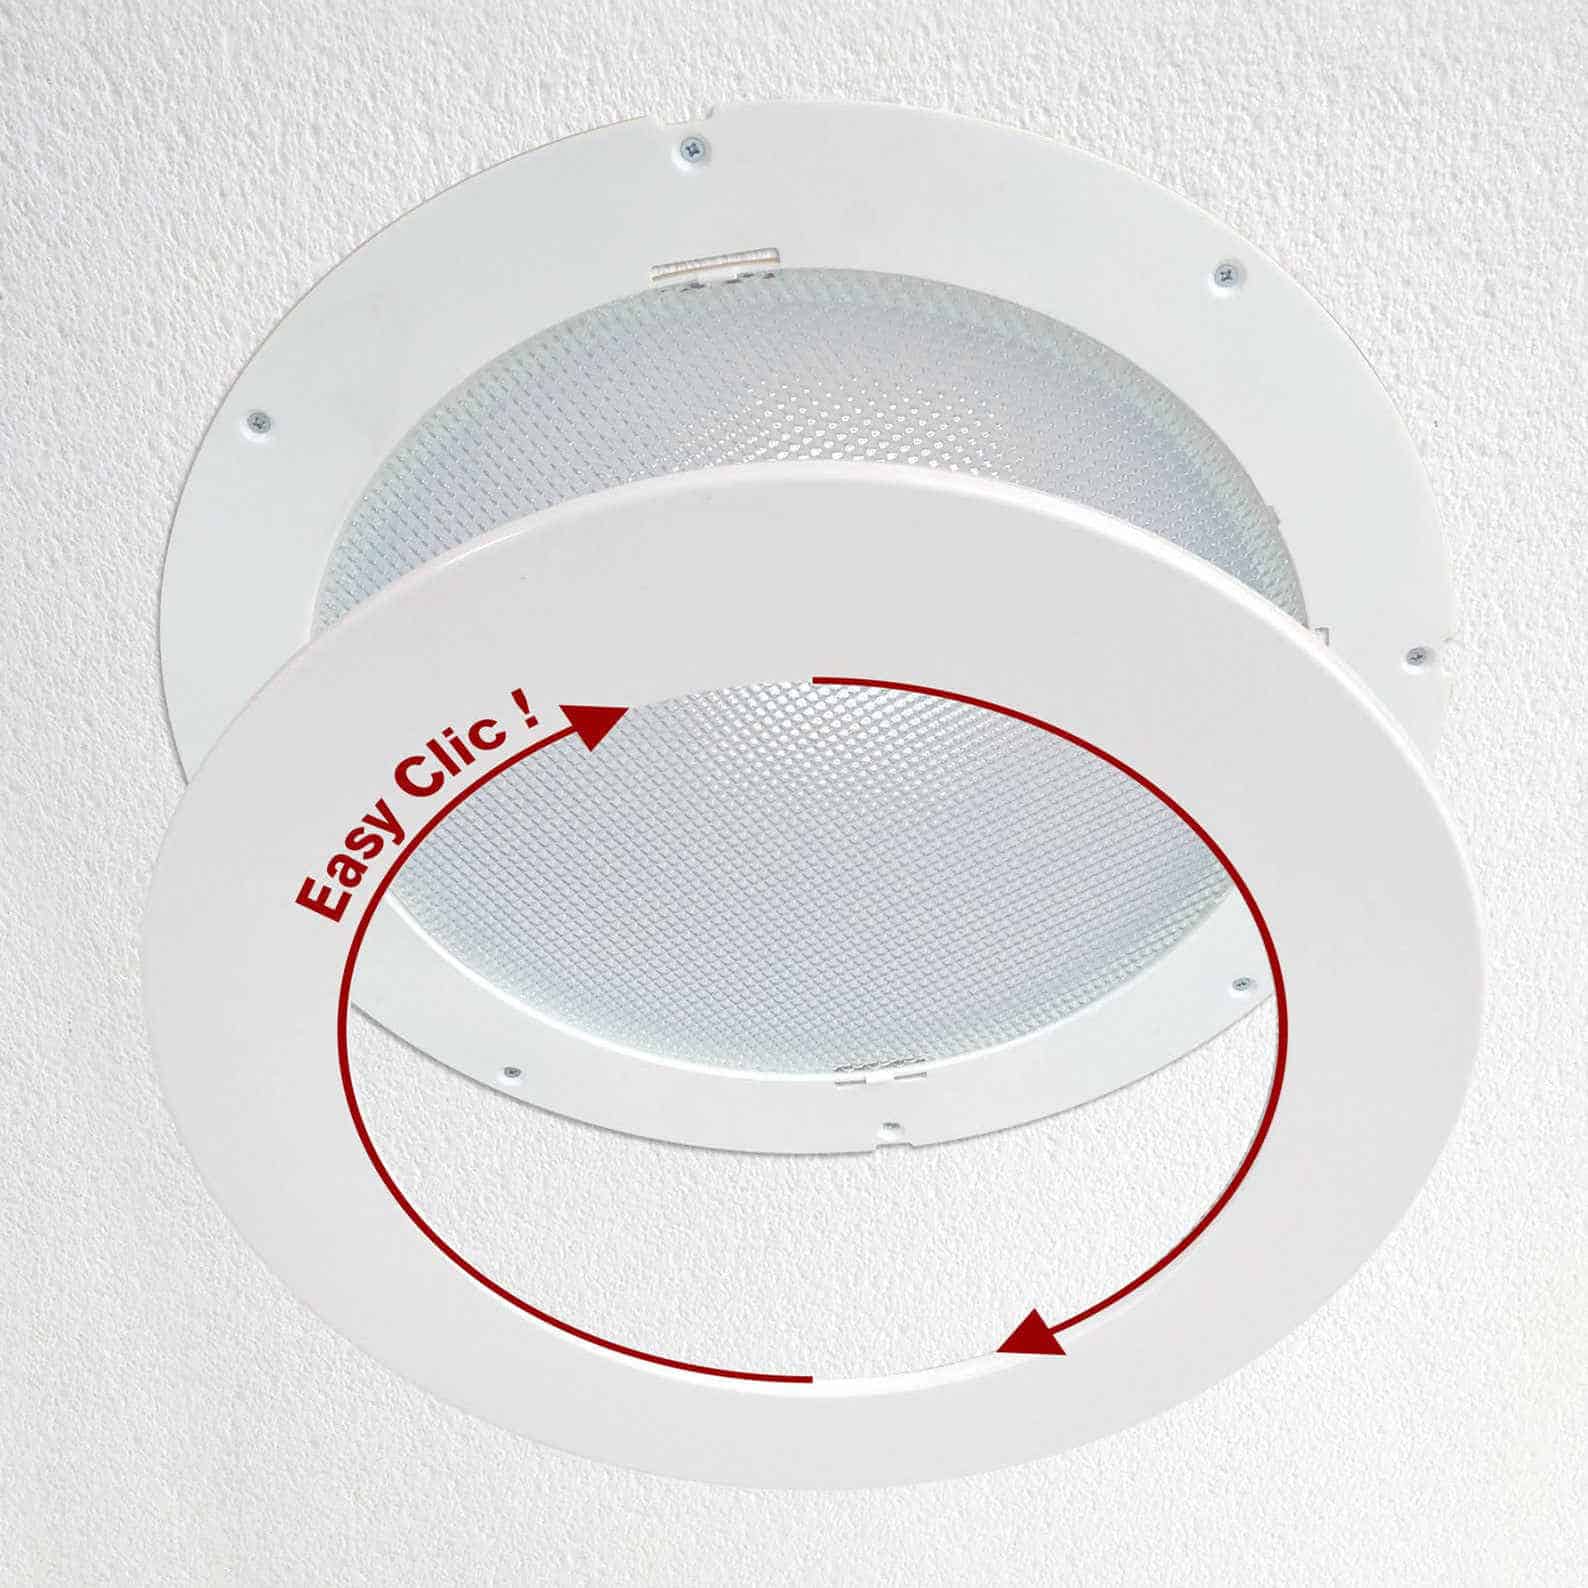
Once you’re atop the roof and can access the diffuser, don’t remove it right off the bat. This is especially important if you’re cleaning your solar tube for the first time since it was installed. There are different ways of making the diffuser pop out of the tube, and this will vary depending on the model you’re using.
Some can be removed by twisting off, some have tabs, while others are pulled straight down. You’ll want to make sure you know how to remove the diffuser so that you don’t mess things up. If you’re unclear, refer to your owner’s manual for guidance, watch a YouTube video illustrating how to remove it, or contact the manufacturer.
Step 3- Disassemble the Solar Tube
Gently remove the diffuser from the ceiling according to the manufacturer’s instructions. If you’re using a twist-off model, turn the diffuser counterclockwise until it pops out.
If you’re using a model with taps, press on the tabs to release the diffuser from the tube. And if you’re using a pull-off type, gently pull the diffuser downward to take it out of the tube. Remove the acrylic dome or cap as well to prep it up for cleaning.
Step 4: Clean the Solar Tube Diffuser
Mix warm water with a soft detergent and pour the solution into a bucket. Soak your solar tube diffuser in it. If possible, allow about 5-10 minutes for the dirt to get dislodged.
Once you’re sure that the diffuser is completely free from caked-on dirt and stains, start cleaning. Using a clean, lint-free cloth, gently wipe down your diffuser to remove any dirt that won’t come off without some elbow grease. Pull the diffuser out of the soapy water and dip it in clean water to rinse.
Repeat the process as many times as possible until there’s no more dirt left. Finally, remove the excess cleaning solution using a clean, lint-free cloth and let your diffuser dry in a cool, dry place.
Step 5 – Wipe Down the Solar Tube Dome
Using a non-abrasive glass cleaner or a damp cloth, gently wipe down your acrylic dome. Never use metal scrapers, knives, or blades to clean any large areas of your dome. This can scratch or scour the solar tube dome causing permanent damage. More often than not, damages resulting from scraping aren’t covered under warranty.
It’s okay to use a new razor to remove only tough spots, such as label adhesive, paint, and tree sap. If you’re using a razor blade to remove spots from the dome, do not scrape it back and forth. Instead, scrape only in one direction.
Back-and-forth scrapping isn’t recommended as the blade’s underside can trap abrasive materials, which may end up causing scratches or even permanent damage. Finish up the wiping using a squeegee and place your dome in a secure position.
Step 6 – Clean the Roof and Ceiling Ends of the Tube
After cleaning up your solar tube components, the next is to clean the ceiling. Examine the area to which the solar tube lighting is attached to determine how dirty it is.
When cleaning the roof outside, use a soft brush or broom to get rid of dust, cobwebs, leaves, twigs, and other debris. Also, clean the area between roof rafters and ceiling joists.
For dirt spots and insect droppings, you can easily take care of them using a wet cloth. Once done, wipe down the ceiling end of the tube using a slightly damp cloth. Make sure not to leave your ceiling too wet.
Step 7 – Reassemble the Solar Tube Lighting
Make sure all components are dry before you begin this step. Start by reattaching the acrylic dome and securing it into position.
Then, move on to reattach the solar tube diffuser into its place. If you’re using a model with tabs, carefully line up the tabs and press the diffuser into its position.
For those using twist-off types, line up the diffuser’s threads on the tube and rotate it clockwise until it fits snugly. If it’s a pull-off model, lightly press the diffuser into position and fix it into place.
You can refer to the user’s manual if you get stuck along the way. Once you reinstall the diffuser and are done correctly, your solar tube light should brighten your interior spaces better than before.
How Often Should You Clean Your Solar Tube Lights?
You’re recommended to detach and clean your solar tube lighting at least once every six months to brighten up your dark spaces properly. If you do not clean it twice a year, it may gather excess dust and debris, which could pose serious aesthetic and sanitary concerns. And while at it, avoid the use of harsh chemicals or rough clothes.
What Are the Benefits of Clean Solar Tube Lights?
Clean solar tubes are associated with a plethora of advantages:
Quality Free Lighting
Clean solar tubes provide better quality lighting to keep your energy costs low. On a sunny day, a well-placed 10-inch sun tunnel can potentially deliver substantial daylight, comparable to what a 300-watt bulb might provide, enough to illuminate up to 200 square feet of office.
It can also brighten up 300 square feet of space for less visual activities, including folding the laundry or taking a shower. With this much power coming from a natural source, you’re bound to reduce your reliance on conventional electricity. What’s more, you’re sure to light up your dark spaces both on sunny and moderately cloudy days.
Reduce Carbon Footprint
Besides being free, sunshine is also a clean, renewable resource that creates zero emissions. When you use clean solar tube lights, you reduce your home energy expenses as well as your carbon footprint. Switching to solar energy is a surefire way to contribute to a more sustainable community.
Additionally, sun tunnels play a critical role in the summer by reducing interior heat gains from the high overhead sun. So, your air conditioning system won’t need to work as hard to vent out the interior heat and cool off your room. That means your cooling costs will be less severe.
Reduced Risk of Leaks
When debris like leaves collects around the area surrounding your dome, they increase the tendency to leak. This is because the accumulated debris hinders rainwater from freely draining off your roof. As such, the built-up water can get into the roofing material and ceiling.
By cleaning the area around your solar tube lights regularly, you significantly lower the risk of leaks. Clean solar tubes are unlikely to leak because there’s no debris allowing water to build up and eventually find its way into your ceiling. And with a lower risk of leaks, your home’s interior wall and paint remain intact.
Elevated Mood
There’s no doubt that natural light impacts us on a physiological level. For instance, Seasonal Affective Disorder (SAD) is a physiological condition that affects some people when they get little or no sun exposure. Sunlight also triggers serotonin production, which ultimately boosts the mood.
Sun’s natural rays also play a vital role in producing heart-protecting vitamin D. Vitamin D, which can be synthesized with the aid of sunlight, is important for overall health and might influence sleep cycles. In short, clean solar tube lights allow you to enjoy all the benefits you usually get when you bask out in the sun.
However, like any technology, solar tube lighting has its drawbacks as well, read our article: What Are The Drawbacks To Solar Tube Lighting?
Wrapping Up
It’s no secret that piping sunlight into a dark indoor space contributes to several financial, environmental, and emotional benefits. However, to optimize these valuable benefits, your solar tube lights must be clean and well-maintained. To ensure optimal performance, consider cultivating a habit of cleaning your solar tube lights at least twice a year, depending on your local conditions.

