6 Common Reasons Why Solar Lights Stop Working (Ways to Fix!)

Do you have some solar lights that went out and wondering what the problem could be? You’ll find this article helpful. While solar lights are resistant to the ever-changing weather, they can encounter issues or run into some trouble, which is common to many users. But that doesn’t mean their functionality is entirely dead.

Why Solar Lights Stop Working

Here we’ve identified some of the major reasons your solar lights suddenly stopped working and tips to get them back up and working.

Why solar lights stop working

Solar lights are known to be resilient by design, providing reliable lighting in a variety of outdoor conditions. They are put outside under a sturdy element to withstand various weather conditions. As a result, today, they are fast becoming an alternative lighting mechanism in offices, homes, and even cars!

Unlike other fuel lamps, solar lights are quite beneficial. They are cost-friendly and don’t pollute the environment. In short, they are an incredibly amazing source of energy. But what could be the cause of them not working?

The following could be some of the reasons:

1. They are not receiving enough sunlight

solar light not working

If you place your solar lights in the shade or a covered area, the chance of them working is minimal because they won’t receive sufficient sunlight. While you don’t have to place solar lamps into the direct sun to function, they need a reasonable amount of light to be fully charged.

Outdoor solar lights usually charge their batteries within six hours of direct sunlight every day, depending on the sun intensity, type of solar panel, and battery. However, if your house or trees envelop the solar panels in the dark, especially during afternoon hours, they won’t get quite enough sunlight, and they might not turn on all night long.

2. Batteries’ lifespan has come to an end

brand new solar lights not working

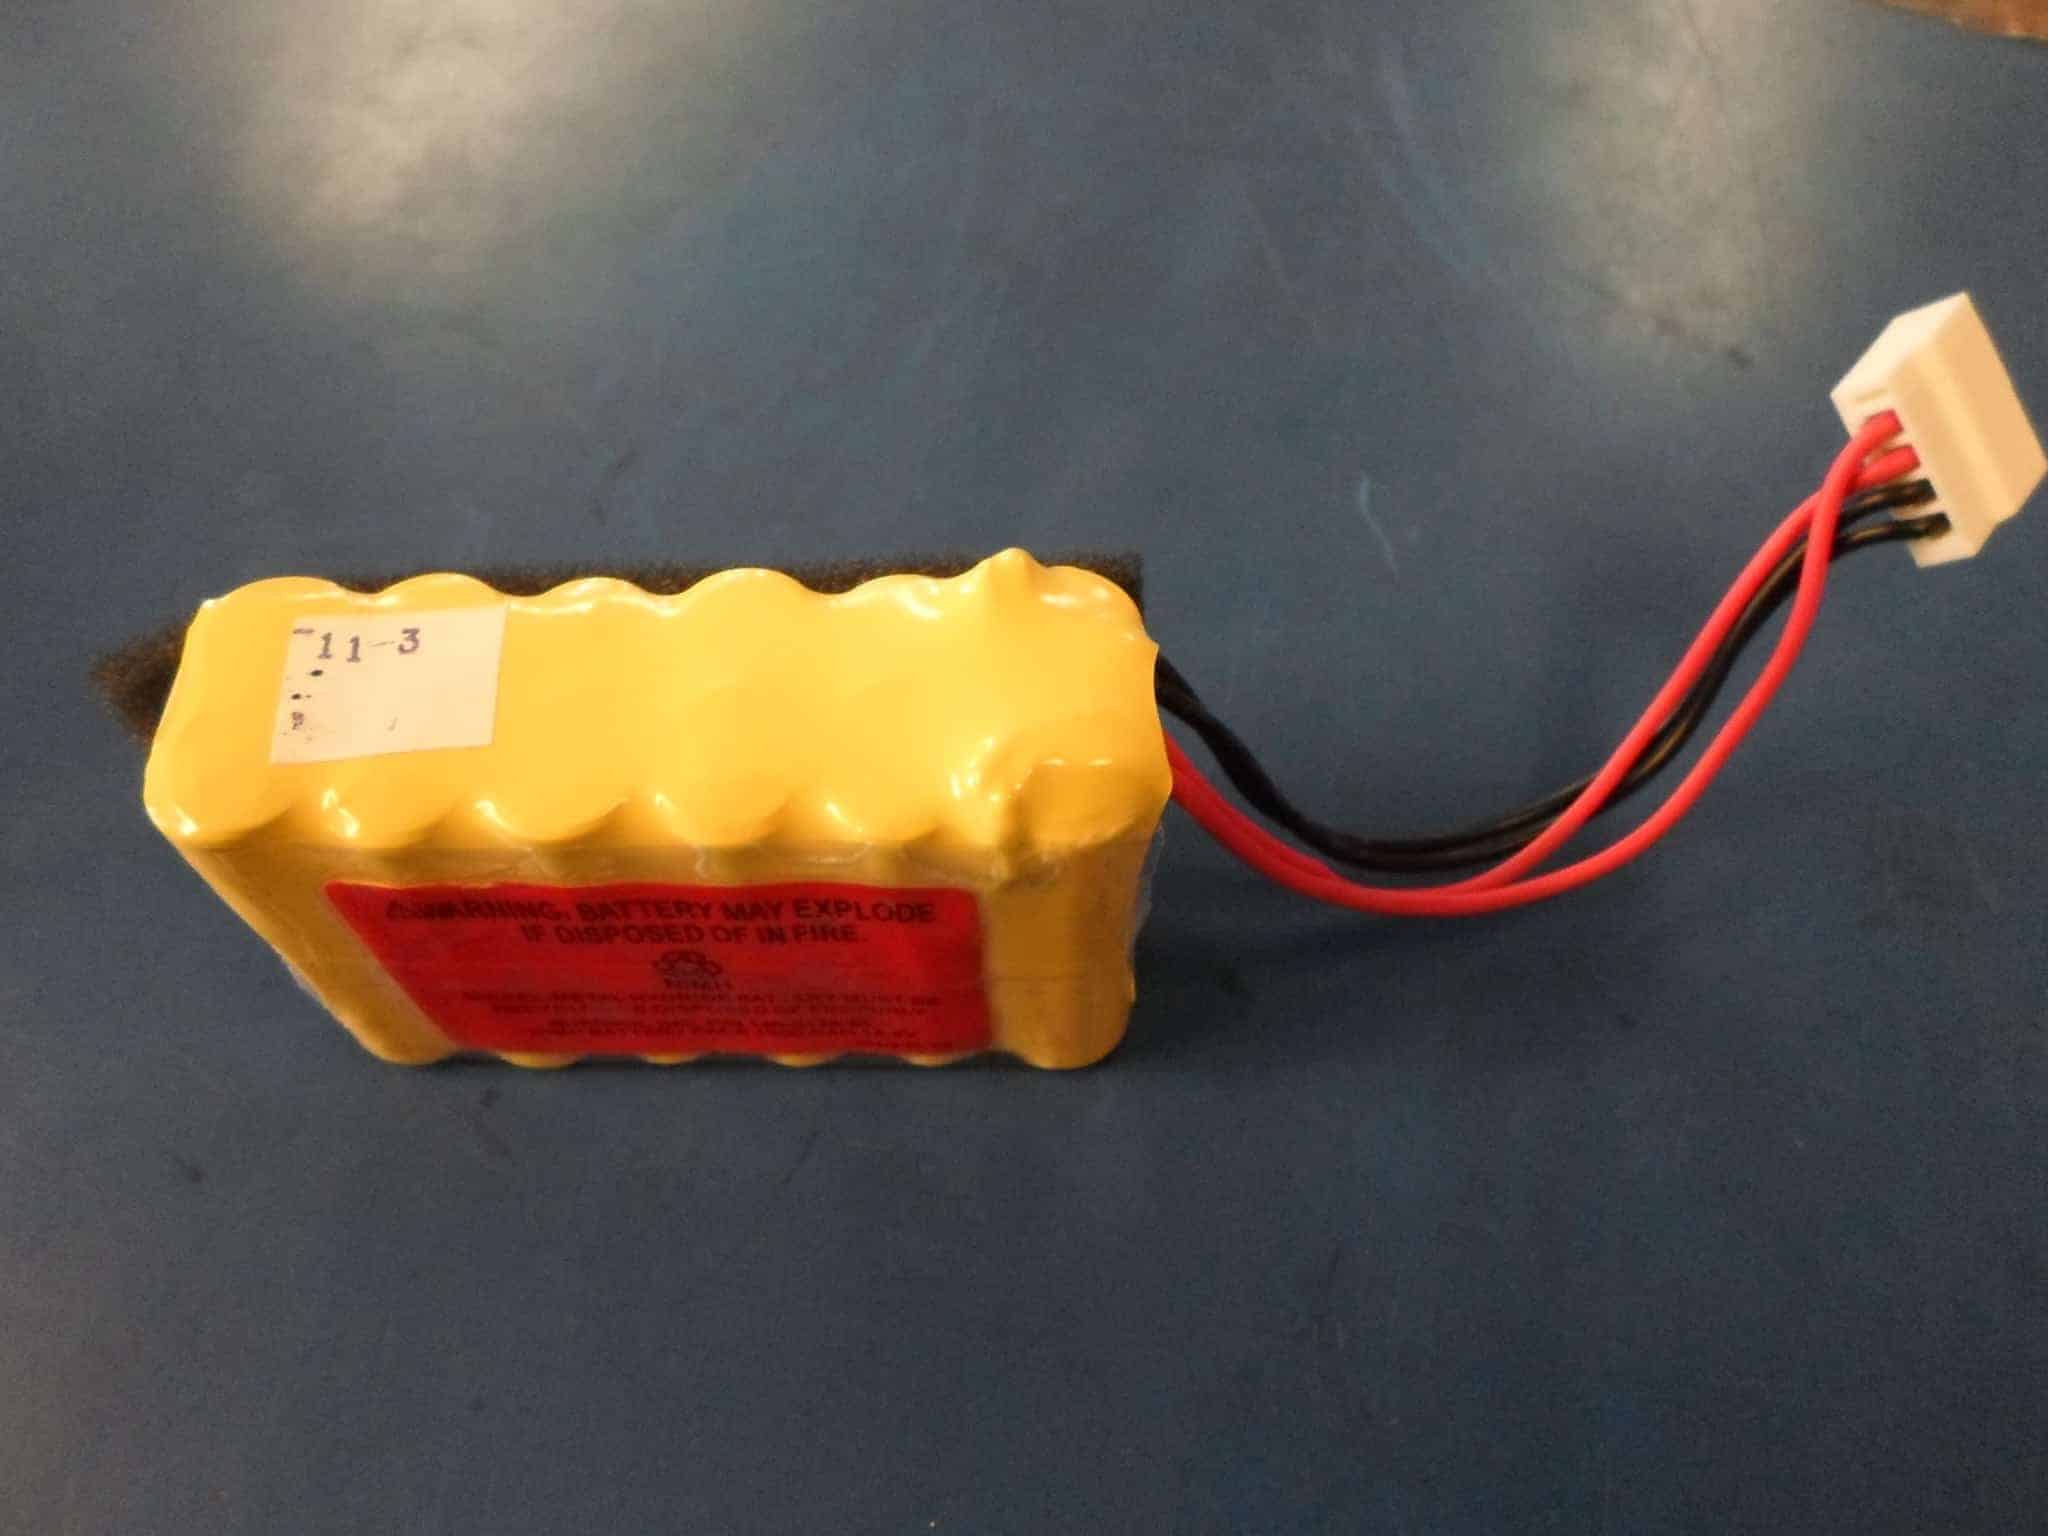
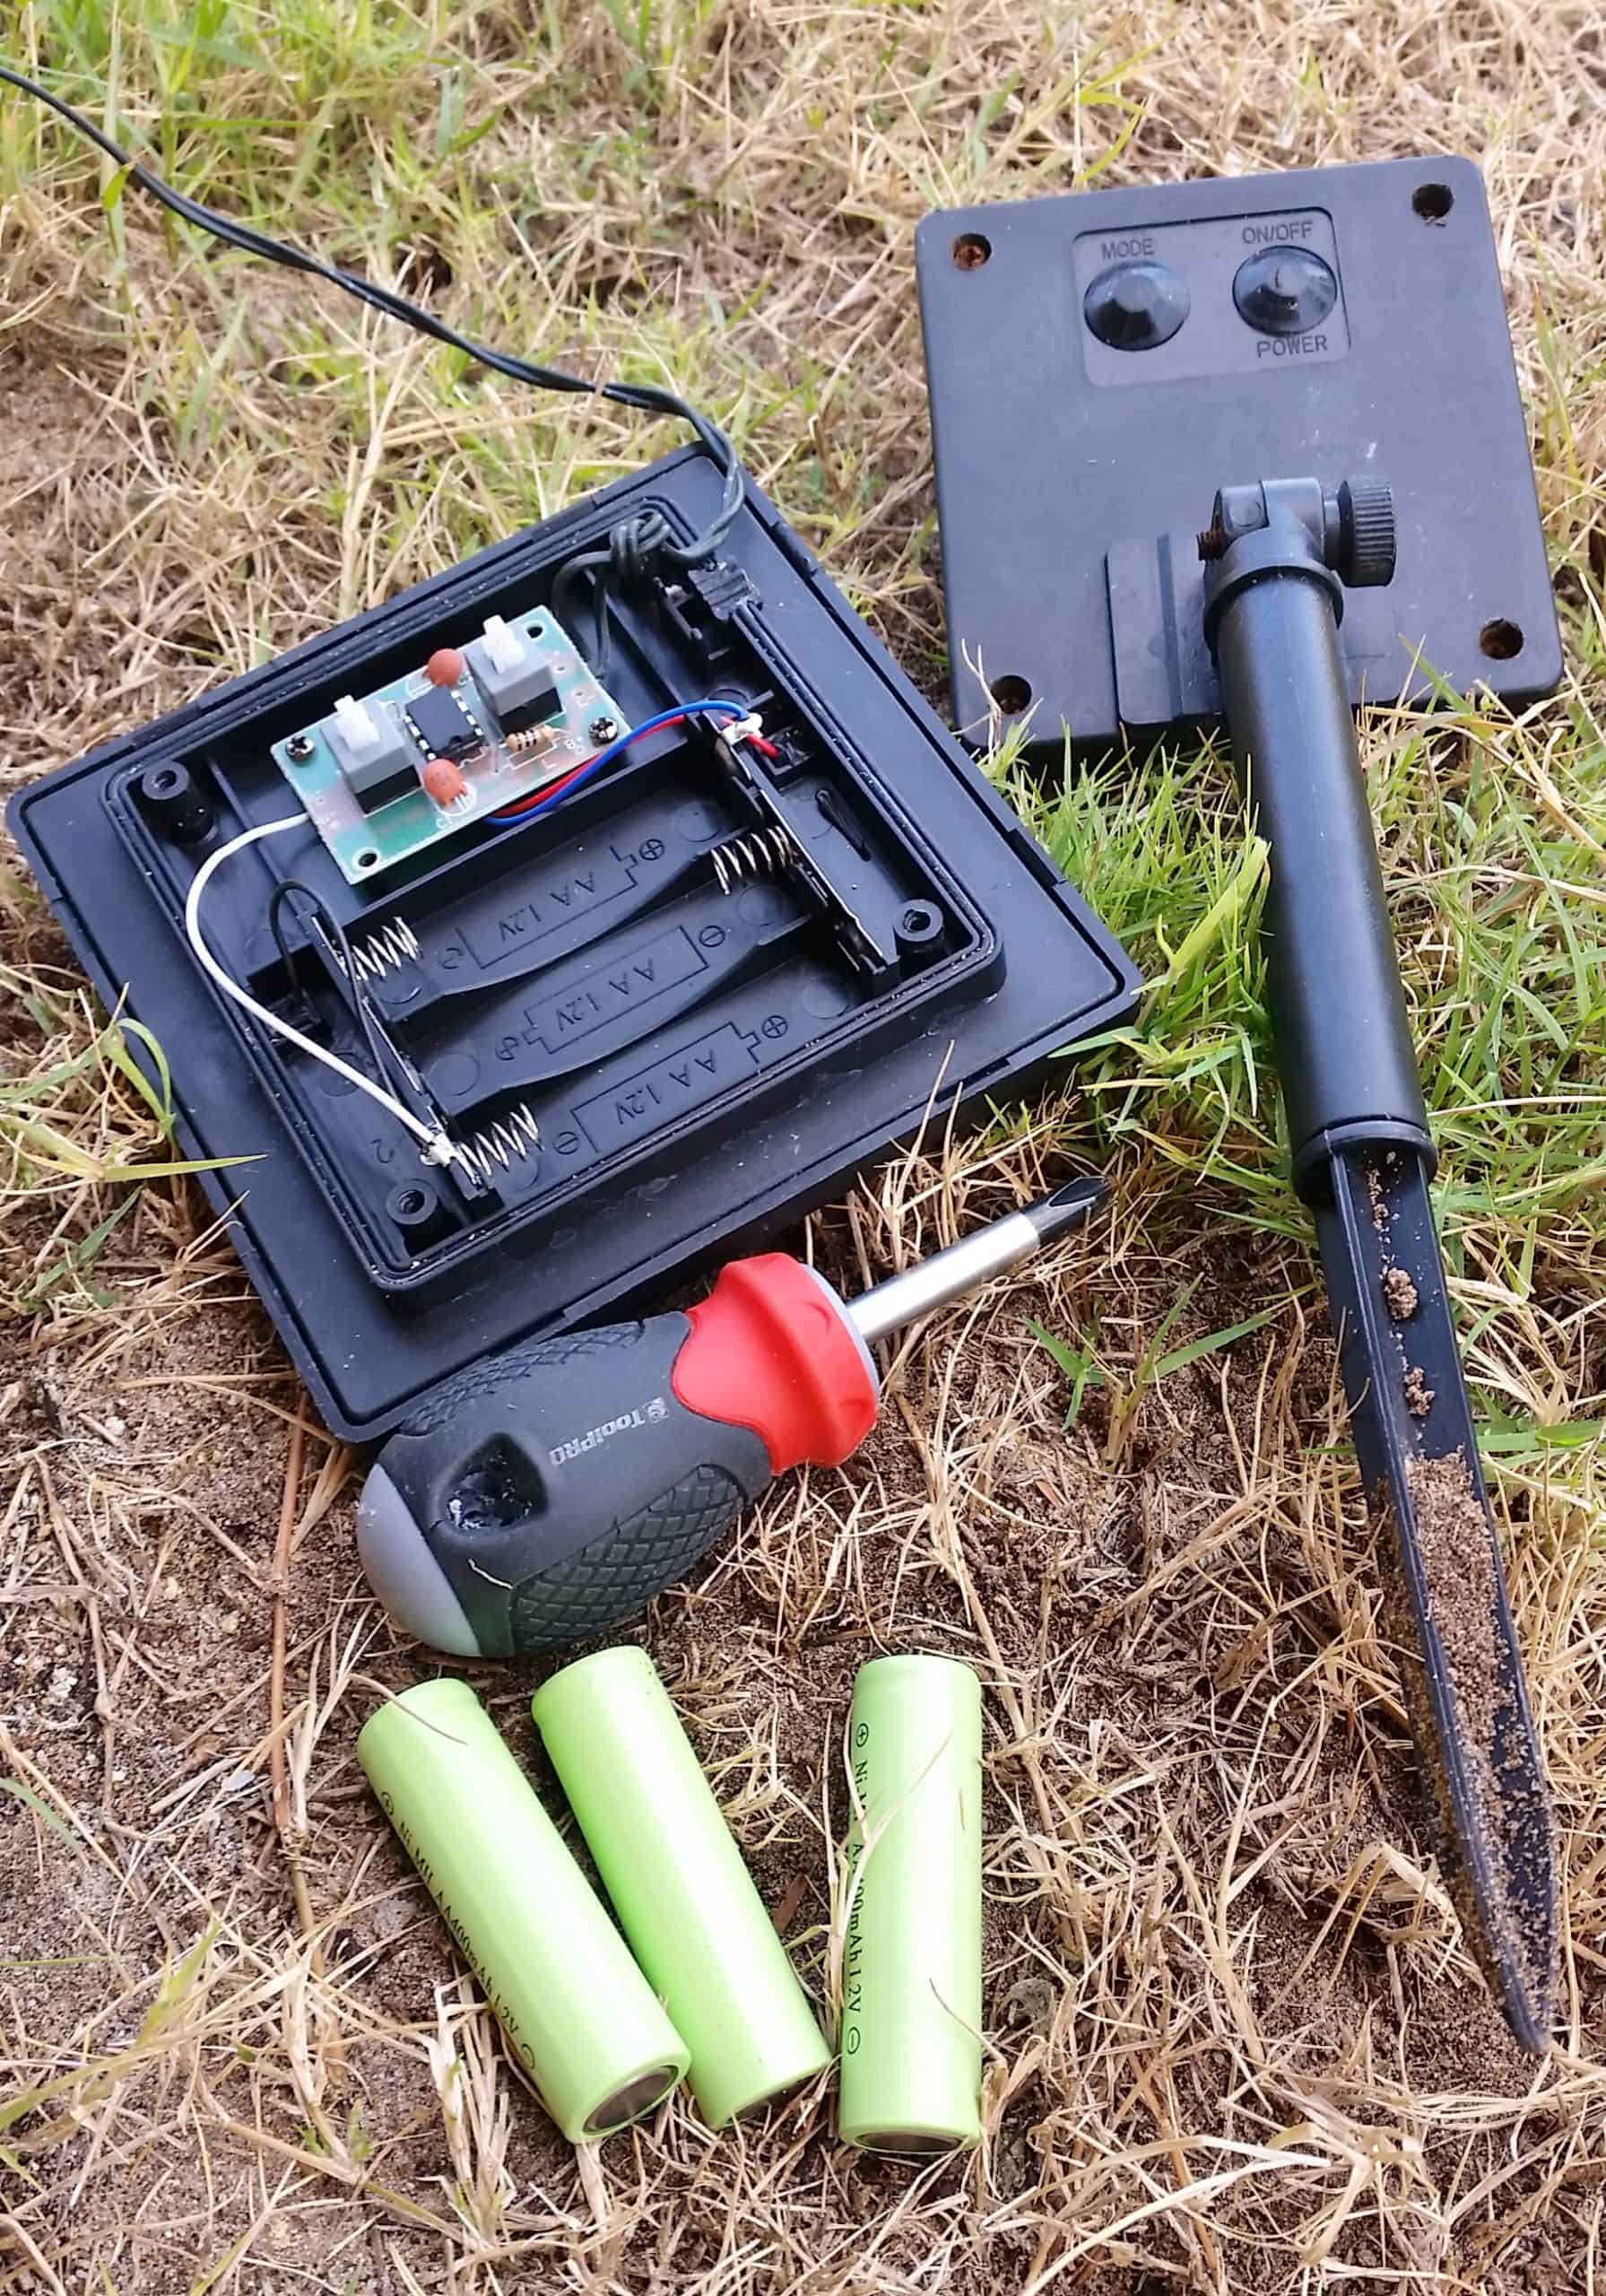
“In most cases, solar-powered lights stop working when a battery is dead, so you might want to take a look and see whether they are worn out or too old. While there are long-lasting batteries like Nickel Metal Hydride batteries (NiMH), they also drop in performance as time goes.

Batteries that are worn out may start to erode, resulting in acid leakage, and this could cause permanent damage to the solar lamp’s electrical components. These batteries also cannot hold an adequate charge to light up solar lamps, and if they can, not for so long. Therefore, if dead batteries are the culprit of your solar lights not working, you need to replace them.

3. Solar lights have a faulty sensor

how do solar lights work

A sensor reacts to darkness allowing the solar light to go off during the day and turn on at night. But none of this will happen with an ineffective sensor unless you do it manually by bypassing the sensors, and you probably don’t have all the time for that.

If the solar light has a faulty sensor, it won’t differentiate between day and night. But how can you tell if this is the cause of your solar lights not working?  You can check during the nighttime by covering the sensor with your hand or cloth, and if it brings to light, it is working perfectly fine. On the contrary, it will show no light if it is defective.

4. The solar panels are covered with dirt

solar lights not working

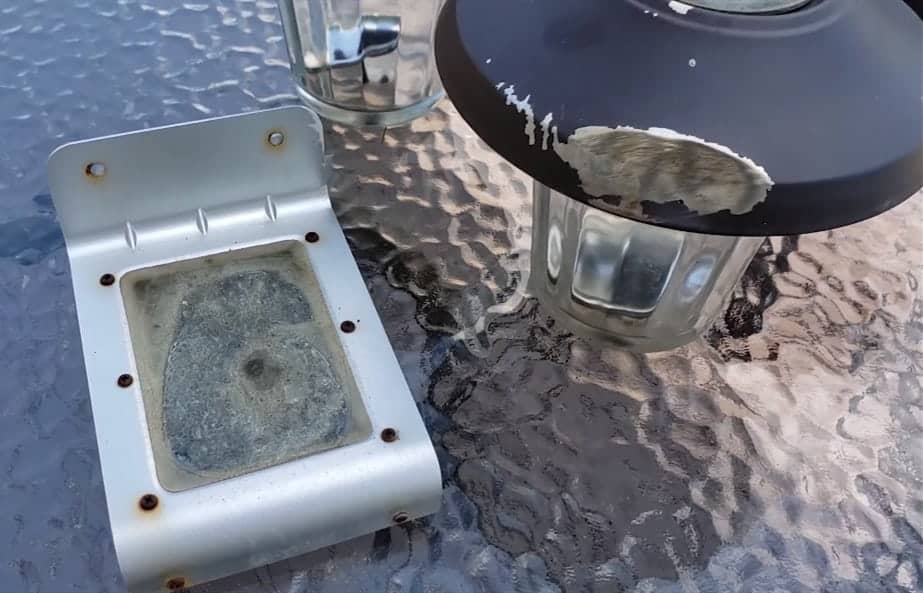
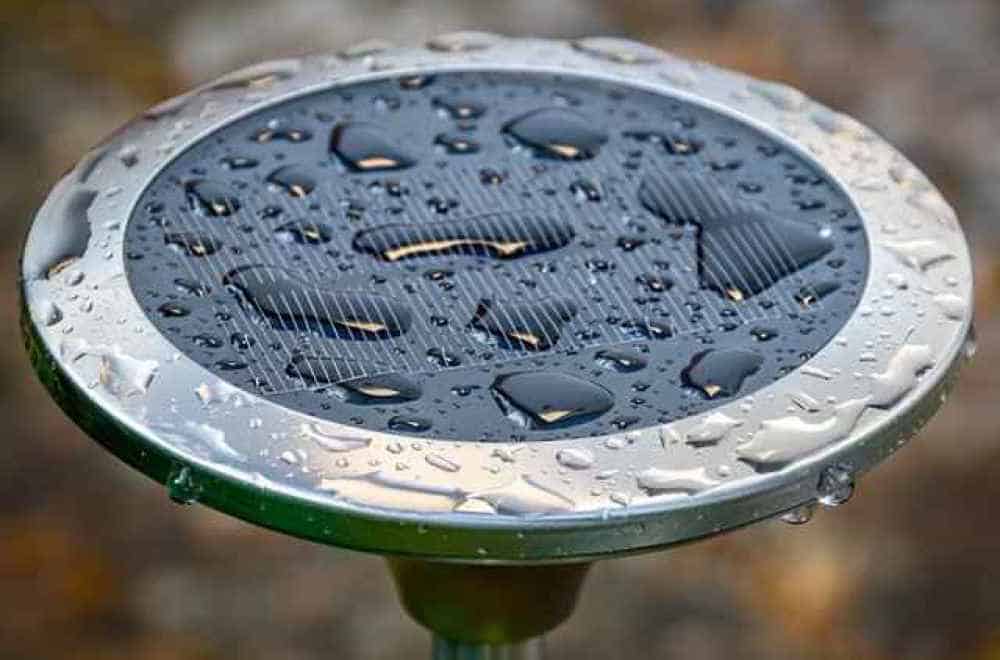
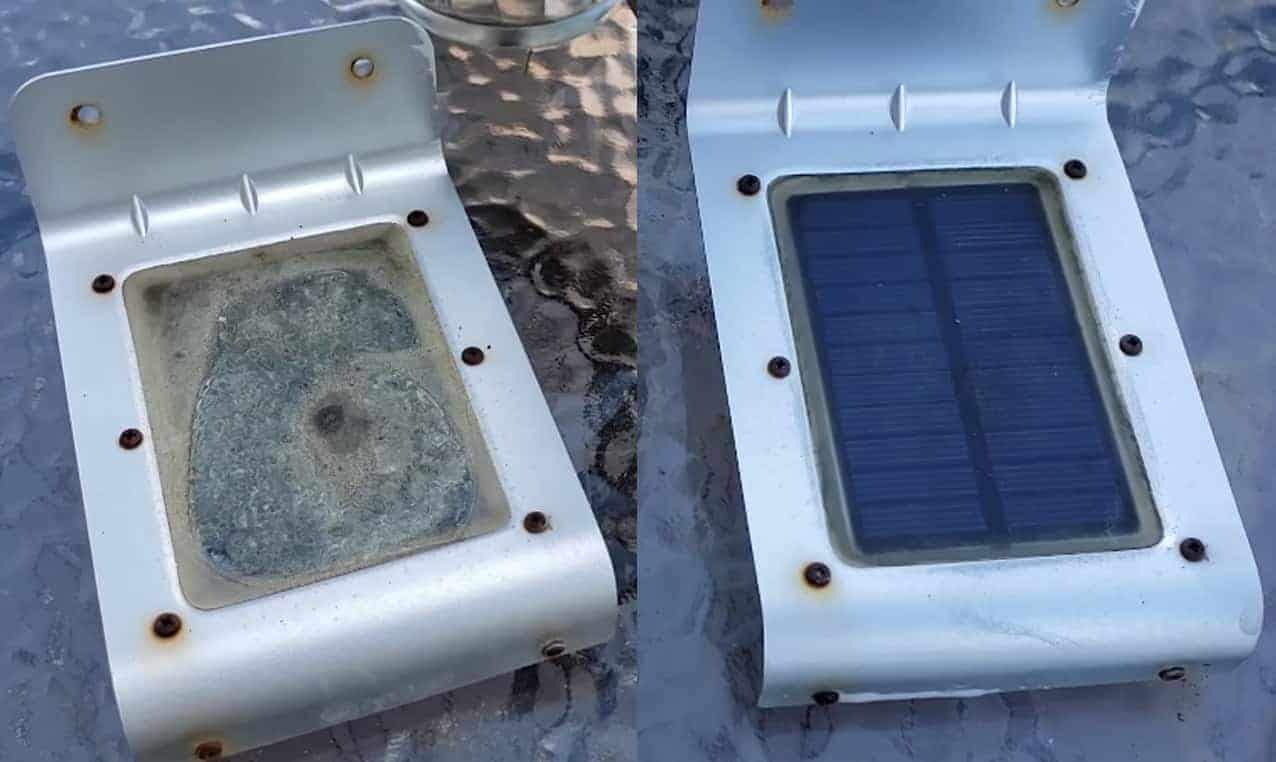
Earlier we mentioned that inadequate sunlight could be why your solar lights are not working, but dirty panels are also a hindrance. A layer of dust or dirt on a solar panel prevents it from absorbing sunlight, and the little that gets in may not charge the batteries properly.

The dust could even get so thick that no sunlight reaches the panels, and as a result, the batteries will not charge at all. Before you assume the batteries are dead, ensure the panels are clean and sunlight can pass through. If fallen tree leaves are on the solar panel, clear them off as they can completely block the sun rays.

5. Water buildup in the panels

solar lights not working at night

Even though solar lights are water and weather resistant, sometimes residue or water may build up inside the light fixture, damaging internal wiring and circuitry. To check if the solar light fixture is filled with water, you can detach the panel head from either the wall, post, or pier mount.

Wondering how water could leak through the panel?  If you have used the solar lights for quite some time, the sealant tends to get older, thus becoming less effective, and that’s how water gets inside the panel.

6. The proximity to other light sources is too close

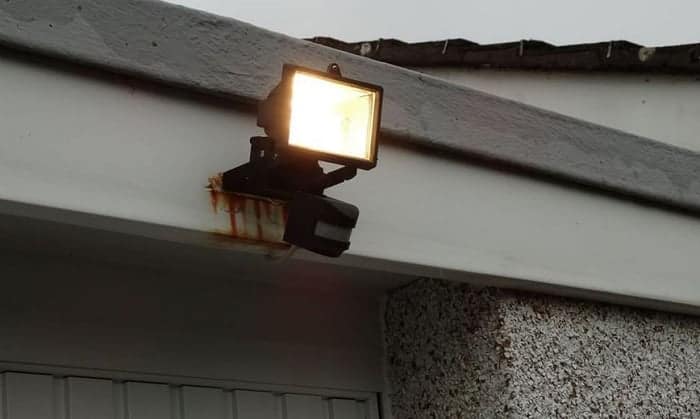
Solar lights are equipped with a light sensor that detects any light, including artificial ones. So, if other sources of lights such as house/garage lights, street lights, and neighbor lights are shining towards your solar lamps, it could be the cause of them not working properly.

To find out if this is the issue, check your solar panels’ location to see whether there is another source of light close to it.

How to fix solar lights that won’t turn on

When your solar lights were brand new, they seemed like a great idea. Installation was a breeze, and you can easily move them around the yard since they are not connected to an electrical cord. However, you might not feel the same once you start experiencing a few quirks along the way. You’ll probably find them less reliable, but the good news is that there is a fix even for the biggest problem your solar lights have presented.

Now that you know the possible cause of your solar lights not working let’s take a look at ways to fix them so they can start functioning well again.

Place the solar lights where they can receive sufficient sunlight

Your solar panels will not absorb enough sunlight to recharge the batteries if they are in a shaded area. You need to relocate them to somewhere where they can receive direct sunlight for a couple of hours. In case there is an overgrowth of grass or bush surrounding the solar lamp, you can go with the option of trimming it short. Ensure that there is no shading on the solar panels. By doing this, the solar lights will get enough sun for the batteries to remain fully recharged.

Replace the batteries

why do solar lights stop working

Batteries are essential components in solar lights, and you need to replace them after approximately three years. Mostly, users forget to check until solar lights are no longer working due to old batteries.

How long have you used your current batteries? If it’s beyond three years, replace them with more modern products like NiMH and Li-ion batteries. They’re great batteries, and they will serve you for several years before they lose their charging ability.

Change the sensor

If your solar light sensor is faulty, you can always replace it as long as the rest of the lamp is in good condition. The good thing is that some manufacturers offer replacements, so you can reach out to the manufacturer of your solar lights to repair the sensors. This solution is not only cost-effective but also a simple fix for your solar light to back up and start performing.

Regularly clean the solar panels

After installing solar lights, you need to ensure the panels are always clean as they tend to get dirty with time. Dust or any debris on the panels reduces the lighting time and the charging process, and that’s why it’s a great idea to clean them now and then. You can use a hose and soapy water, which is the most effective way. A clean solar panel can more effectively convert sunlight into electricity to charge the batteries. Not to mention, your home will become more beautiful.

hampton bay solar lights troubleshooting

Restore solar lights using house hold Dish Soap in minutes

Ensure there is no water inside the solar lamp

Although outdoor solar lights are built to withstand water and rain, they can be overwhelmed, especially during heavy rains, and end up not functioning. If the solar light is filled with water, disassemble it as needed and dry off all the accessories, paying close attention to the sensor. After thoroughly doing that,  carefully put it back together, and test the solar light in a dark room to see if it will work. If it does, water was the cause of the damage.

Relocate your solar light away from other light sources

Do you have another artificial light next to your solar lamp? This could be the cause of failure. Switch the lamp to a different area and see if that fixes your problem. Place where it can receive adequate sunlight during the day and no intervention from other lights at night.

Final thoughts

Solar lights are environment-friendly, cost-effective, and a great way to light up your backyard or garden. Nevertheless, a couple of reasons can cause them to stop working, including dead batteries and dirty solar panels.

This article contains excellent information about how solar lights work, and we’re sure you’ll find it useful. If yours is not functioning, you now know what could have caused the problem and how to fix it.

34 thoughts on “6 Common Reasons Why Solar Lights Stop Working (Ways to Fix!)”

  1. My solar lights are brand new. Have been in sun to charge for 2 days. How do I know if the “on switch” is on. On and off position look the same. They DO NOT light up. So disappointed and of course don’t have the receipt. I hope you can help me. Thanks. Have a great day and stay safe.

    Reply
    • making sure your solar lights are fully charged, then take them into a dark place, and test them On or OFF to make sure which is the “On switch”, if the test no work. maybe your solar lights have problem, you should contact the seller.

      Reply
    • You have to listen to the click sound very closely. You can tell the difference between on on click (short) and off click (slightly longer)

      Reply
  2. I took my light apart and cleaned and waterproofed everything. I tested the batteries and the switch. Lights come on with the auto and on switch. Photo cell didnt look damaged but will not turn on with motion. Im almost giving up.

    Reply
  3. My new solar wall lights with movement sensor, switches on if theres movement but emediately switches off again. Please help

    Reply
  4. Solar light does not work, when I unhooked it from the solar panel. It came on. Is it supposed to be hooked together.

    Reply
      • That’s exactly right Robert. Plus in my experience the amount of light/current which triggers daylight no turn-on mode, with this design is often the tiniest amount.

        So to test them would require either de-soldering the wires to the PCB, or much easier – snipping the positive connector with Scissors, and then wave a hand in front of the PIR module on the front. If it then becomes operational; they can be reconnected using screwdown connector blocks, available from any hardware store. Then screw or snap plastic case back together, and install outside in desired position.

        Make sure to pick somewhere that will get at least 6 hours of direct sunlight as others suggest here.

        The main problem with these cheap units made in China for the absolute minimum manufacturing cost (and stingy high markup price) tends to often be the PIR module.

        Reply
  5. My NOMA post lamps turn on continuously and do not turn off in day light. They run night and day. They have no visible damage to the solar panel and the sensor although not visible seems to be part of the solar panel.The working models seem to indicate this.How can this be fixed ?

    Reply
    • I have solor lights all over my property and two of them don’t come on every night just every other night and they are all exposed to direct sunlight all the time they aren’t a year old yet the problem is only in two of them but sometimes they all take turns not coming on at night when I first installed them they worked great for a few months an then it started i hate to think that they only last a few months that would suc

      Reply
  6. Environmentally friendly? Well my solar lights are directly wired to battery. So guess I be tossing the plastic in garbage again. I will buy more cuz they cheap and easy to place but not environmentally friendly. And with no recycle logo I’m guessing these will fill up a landfill fast. You hear all this environmentally friendly but it’s not. No one thinks of long run and future to anything but want to label it to sound good.

    Reply
  7. If not the battery, A common I have found over the years is that the switches are not very robust and do not like damp. Easy way to test is to short the two wires on the switch terminals with a screw driver. If thy come then bingo. Best to solder a small bit of wire between the tags. If you cant do that try wrapping some fuse wire fairly tightly instead. Obviously you can not turn them off but the light sensor will work fine.
    .

    Reply
  8. when my solar lamp was removed to be transferred to another location, the light just went on. it was on a daytime in the afternoon. the whole night it was on. when it went off, it never got on again. what could be wrong?

    Reply
  9. little or no lite function in damp weather…… fully dismantled fusion model#16585 to find insect cocoons habitats attached at either end of battery contacts. Think cocoons when damp may short out battery. Clean throughly and reassemble…. worked for me. Found a few lites like this problem after one year operation…..easy fix.

    Reply
  10. Do not buy the cheap solar lights for garden paths at Dollar stores or Walmart. They only last a few days (like 1 to 4 days). Buy more expensive ones that are backed by the companies that make them because they usually will make it right.

    Reply
    • Strange because my dollar store solar lights are working still after 4 years, but the $15 dollars once at the department store, lasted 3 months, tried everything in above article, still don’t work.

      Reply
  11. I have solar lights that stick in the ground. They are not new but were expensive when purchased. I brought them in and cleaned panels and replaced with new batteries. However, 4 out of 8 do not work unless I press the light bulb itself. Seems to be a short in the connection. How do I fix this? They have no on or off switch. I hate to toss out as they even have glass lights and are quite large.

    Reply
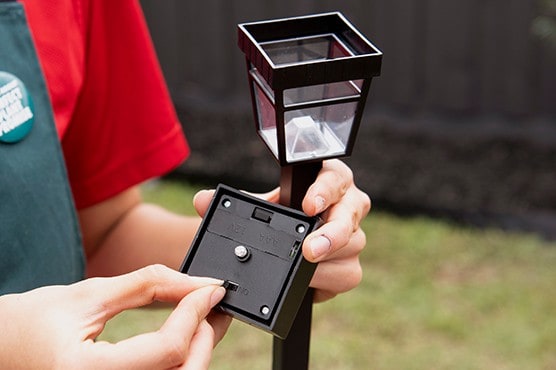
  12. Some have a strip that is in tge battery compartment that You should pull out so the voltage will get to Batteries. To check tHem place your finger over the round sensor and they should Come on.

    Reply
  13. I put my solar Christmas lights out every year. I was wondering when you take them down and pack them away . How do you store them, should you take the batteries out. Do you turn them off and then store them . Do you leave them turned on to drain the power out of them. I am confused as to what is the best way to store them. This year it cost me a fortune in new batteries ad they didn’t work.

    Reply
  14. In the beginning I had the same problem. It came on when I tested it but did not come on in the evening. I discovered that the thin plastic that covers the panel needed to be removed. After removing it, the solar light came on that night night. Removing that plastic was not included on the instruction.

    Reply
  15. I have a cheaper way to protect the surfaces such as solar cells , cellular phone, wrist watch, to stick transparent tape . it will be good for a year and no scratches or rust or damage the solar cells will always be like new.

    Reply
    • That’s a creative and budget-friendly idea to use transparent tape for protecting surfaces like solar cells, cell phones, and wristwatches! Although it may work well for a year, it’s worth noting that the adhesive might wear off over time, and the tape may not provide complete protection against water or moisture.

      However, it’s still an interesting solution to consider. If you’re looking for more long-term protection, you could also explore specialized protective covers or cases designed for these devices. Thank you for sharing your tip!

      Reply
  16. I know that they sell solar light top replacements, but I’ll be darned if I can find the procedure for doing this. Would I cut the wire on the old one, strip the wire, and attach it to a new one? Thanks for any help!!

    Reply
    • Hi Maggie,

      Hello, thanks for reaching out with your question. If you want to replace the top of a solar light, here are some general steps to follow. However, please note that procedures may vary depending on the specific design and model of your solar light, so it’s always best to check the manufacturer’s instructions if available:
      Switch off the solar light: To prevent any electrical discharge.

      1. Remove the old top: This might involve unscrewing or unclipping the top.

      2. Disconnect old top: Find the wires connecting the top and bottom, and carefully disconnect them.

      3. Prepare new top: Strip the ends of the wires on your new top if needed, usually about 1/2 inch.

      4. Connect new top: Connect the new top to the bottom, matching wire colors.

      5. Test the light: Turn the light ON to see if it’s working.

      6. Secure the new top: Once it works, secure the new top into position.

      Reply
  17. I have the same bulb that is filling with water out of two strings of lights. They are hanging around the perimeter of my patio roof line. I cant see where it is leaking from in the base.

    Reply
  18. What about these “mode” buttons on some of these solar units. I constantly set them for “steady on” and the next night they have reset to another mode. I’d say this happens about 15% of the time. I opened the panels – ZERO water, ZERO corrosion. I cannot tell what piece of the circuitry “stores” the mode. I tried new batteries just in case they were like “100% drained over night” and lost the mode setting.

    If I have to I can replace these panels with another one that does not have a mode button but that’s my last resort.

    Reply
  19. One Fencepost shorts out the light when the cap is placed on top .. could some metal (screw) inside the post be touching something in the cap to short it out?

    Reply
    • Hey Samuel! 🌞

      Absolutely, you’ve got a keen sense! If one fencepost causes the solar light to short out when the cap is placed on top, it’s quite possible that a metal part (like a screw) inside the post could be touching something in the cap and causing the short. It would be a good idea to check for any stray screws or metal fragments that might be causing the issue. Sometimes, ensuring that there’s no direct contact between the components can solve the problem. If everything looks okay but you’re still having troubles, the wiring inside the cap might be the culprit. Hope this helps, and may your garden shine bright! ✨🌙

      Reply

Leave a Comment