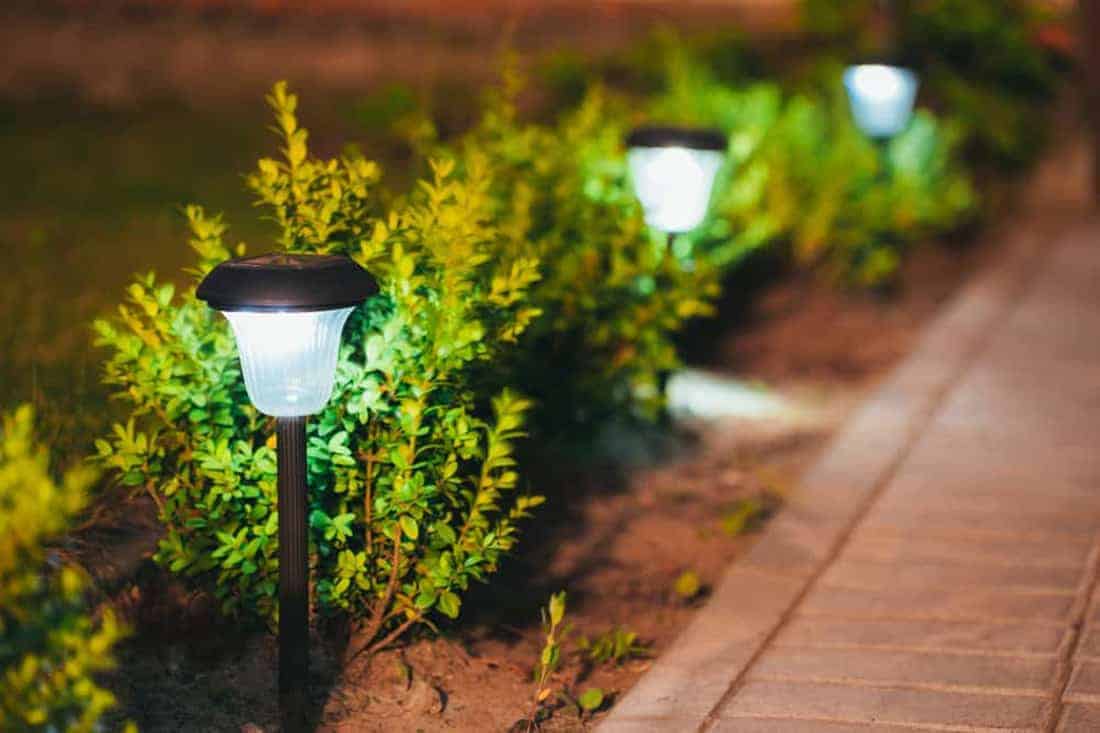
We have to ensure a safe outdoor space at night. Solar lights are an excellent device to install in your outdoor living area. Besides keeping your property safe, you are being environmentally conscious by choosing a solar-powered light fixture. However, these outdoor light fixtures are constantly under extreme conditions, requiring regular maintenance to keep their optimal function.
A crucial aspect of their regular maintenance is to keep them clean. As these solar lights are installed outside, they accumulate dust, dirt, and other debris, possibly affecting their efficiency by preventing them from charging and powering the lights properly.
If you have a solar light for your home or business, you must know these cleaning maintenance tips to help you have the most out of your solar lights for the years to come.
How to Clean Solar Lights
This is a delicate process. Solar lights have several tiny components that you must wipe and clean to maintain efficiency. We have a step-by-step process for cleaning and keeping your solar lights in top condition. Follow these steps to ensure your solar lights are reliable to illuminate your outdoor space.
Gather Necessary Materials
Before you begin cleaning your solar lights, there are basic materials you need to prepare and gather. These materials have to be gentle for the solar lights to ensure you are cleaning them effectively without causing any harm to their components.
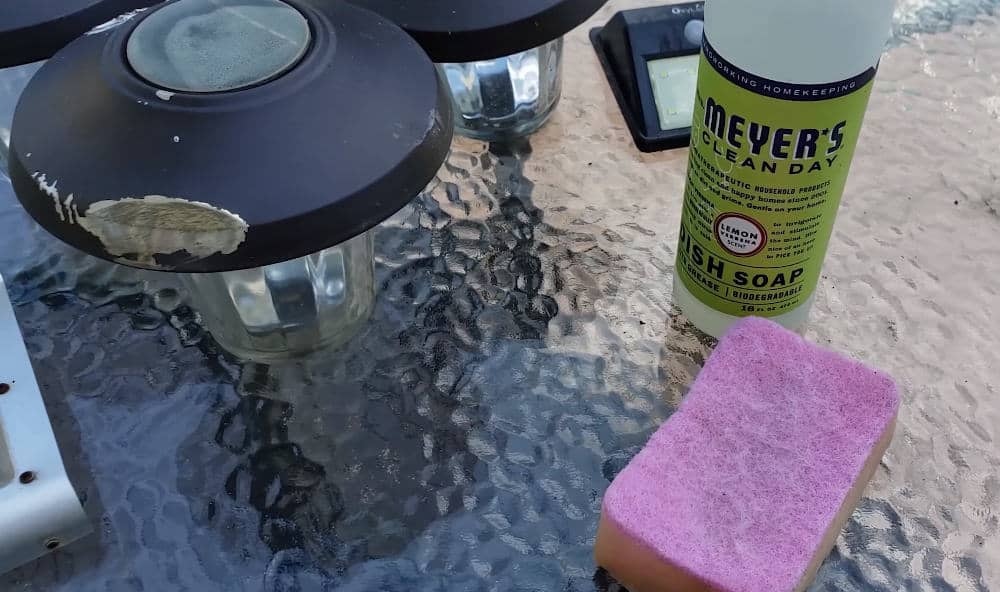
- Soft cloth and a soft-bristled brush – You need a soft brush or cloth to ensure you do not scratch the surface of the solar lights and their panel when removing any dirt or debris.
- Mild dish soap – Do not use soap or cleaning solutions with harsh chemicals or abrasive cleaners.
- Warm water – It helps loosen dirt, grime, and soap residues on the panels more effectively.
- Bucket or container – You have to fill the bucket with warm water to use for rinsing off the solar lights. We do not recommend using pressure washers; the high pressure will damage the delicate, tiny components of the solar lights and its panel.
- Screwdriver (as needed) – This is only optional. Some solar lights have to be unscrewed. You must dismantle them to access their battery, light fixture, and other components.
- Microfiber cloth – Microfiber material is the best option to pat dry the solar lights and their components. This cloth is soft and does not leave any lint on the surface.
Once you have these materials, you can do the following preparation before you can start cleaning your solar lights.
Preparation
This step is preparing yourself to ensure you can clean the solar lights properly and safely.
Choose a time of day for cleaning.
We recommend cleaning your solar lights early morning or late afternoon. This is the time of day when the sun is not at its strongest, but even when it is not at its peak, clean your solar lights in a shaded area. You may find it difficult to see the dirt and debris on the panel if the sun’s rays reflect. Moreover, the cleaning solution may dry up quickly, so it is best to be in a shaded area.
Safety precautions
Before you start cleaning, you have to know the safety precautions to avoid accidents and injuries.
Let’s start with reading the manufacturer’s instructions. It has all the information you need to know to avoid damaging solar light components and to keep you safe when cleaning.
Always turn off the solar lights before you start and remove the batteries to prevent electrical issues or corrosion. Solar lights may be a shock hazard, so it is better to be safe than sorry. Also, wear safety gloves when cleaning solar lights to protect your hands from sharp edges.
If the solar lights are installed on poles or walls, use a sturdy ladder to reach them. Make sure to place the ladder on a stable surface and take time to reach the lights safely.
So, are you ready to get started with cleaning your solar lights? Remember these safety precautions to do the cleaning process safely and effectively.
Cleaning the Solar Lights
As dirt, debris, and grime accumulate on the surfaces of the solar lights, it reduces their efficiency in absorbing sunlight and recharging their battery. That’s why it is important to clean them, but also carefully to avoid damaging their components.
- Fill the bucket with warm water and add a small amount of mild soap or cleaning solution recommended by the manufacturer.
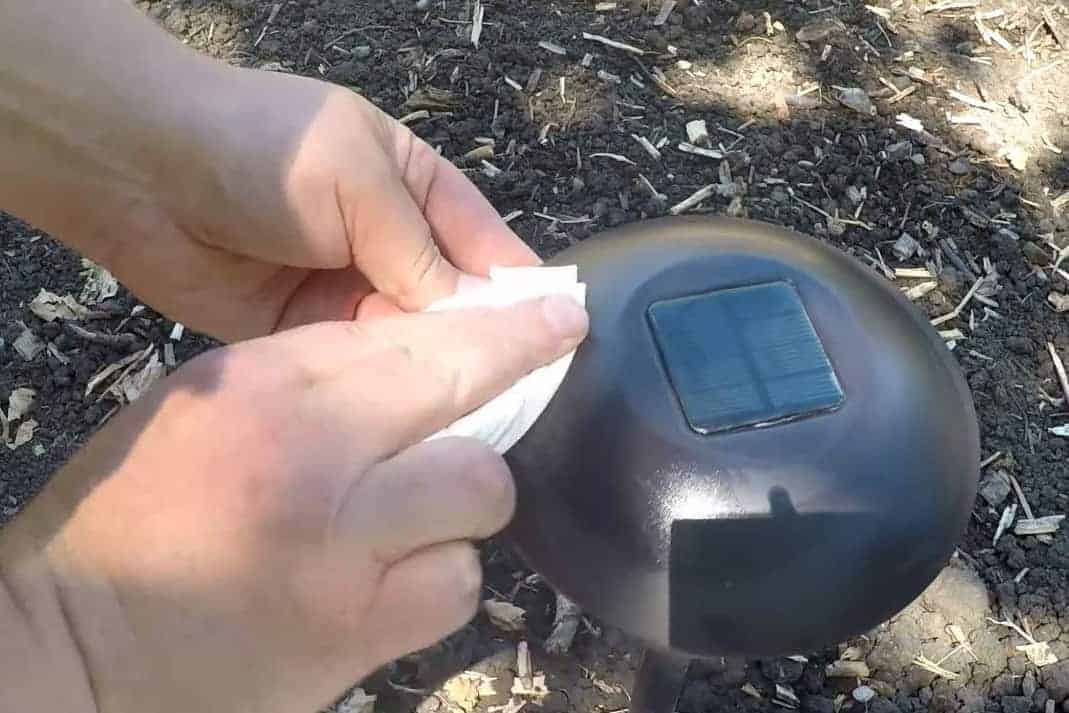
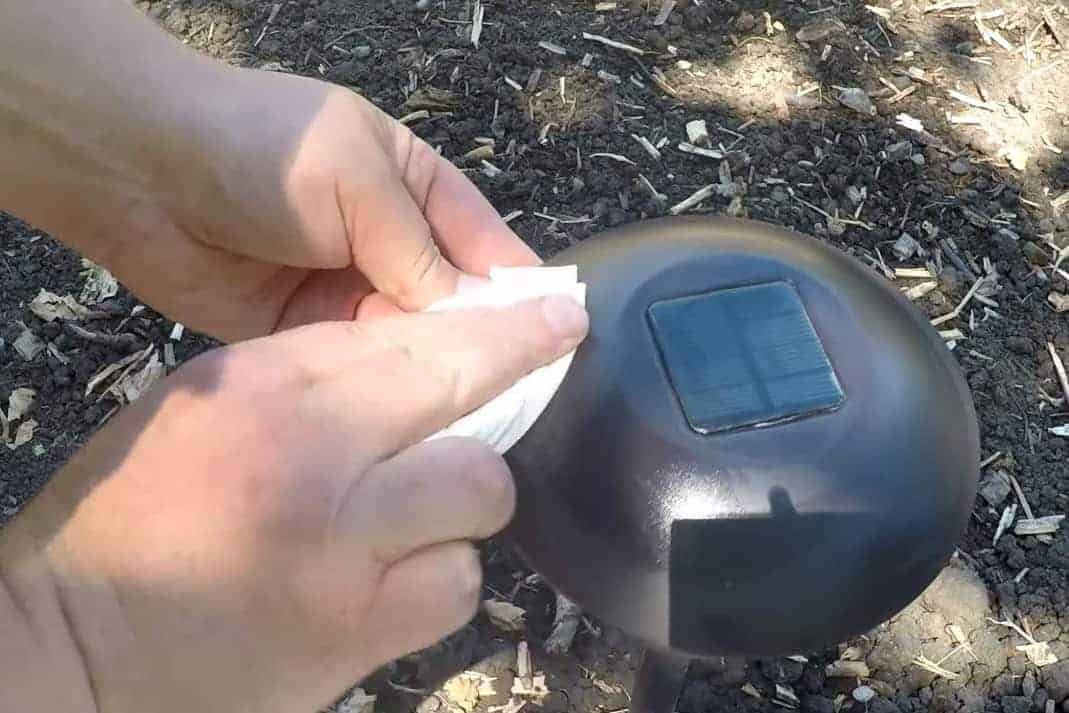
- Dip the soft-bristled brush or cloth into the cleaning solution and gently wipe the surface of the solar lights. Pay attention to the areas that have visible debris or dirt. Be careful when brushing the components. You might scratch the panel surface.
- After you brush and wipe the surfaces, use a hose or another bucket of clean, warm water to rinse off the remaining dirt, debris, and cleaning solution. Be sure to rinse the solar lights thoroughly to ensure no residue remains.
- After thoroughly rinsing the solar lights, grab the microfiber towel and gently pat the surface of the solar light. Avoid using abrasive materials that can scratch or damage the surface. You can also let the solar light air dry in a shaded area before reattaching it to the light fixture.
After cleaning the solar light, let’s start cleaning its light fixture.
Reassemble and Test
You can skip this step if you do not have to dismantle your solar lights to clean their components. However, if you did, you must reassemble the solar lights as the last step.
- You have to gently realign the covers and casings, so you can reattach and fasten them securely.
- Turn on the solar lights and observe if the lights do not fluctuate without supervision. Always check if they are functioning properly.
- Do not turn the lights off immediately after reinstalling them and reinserting the batteries. Let them stay on longer to observe if they can provide the expected light output for hours.
- Remember to check the battery to see if it is recharging properly.
If you notice any issues on this step, check the manufacturer’s instructions and try to troubleshoot the problems before calling for assistance.
Establish a Cleaning Routine
Regular cleaning and maintenance help extend their lifespan, but it is not a one-time task. You have to give your commitment and regular attention to maintain properly. We know it takes a lot of work to keep up with the cleaning routine. But do not worry! We have some tips to help you establish a schedule that works for you.
Determine Cleaning Frequency
Base the cleaning schedule on the condition of the solar lights and the recommended cleaning frequency, rather than on your personal convenience. So, the first step is to determine your schedule and match it with the cleaning frequency your solar lights need to have a schedule that works best for you.
Solar light manufacturers mostly recommend deep cleaning your solar lights after each season. But, there are times they have to be cleaned more frequently.
Monitor Solar Lights Performance
Check your solar lights for dust and debris, so you can adjust your cleaning routine according to the schedule that works for you. If you cannot see any visible dust or dirt on the solar lights, monitor their performance. Sometimes specks of dust are not visible to the naked eye, and it may affect the solar light’s light output and battery life.
You may be worried that your solar lights might not work after cleaning. If this unfortunate event happens to you, you can troubleshoot the issue.
After cleaning, remember to check the battery, inspect the solar light, and observe the light bulb and other components to see if some may have to be replaced and repaired.
If some technical issues are out of your league, it is best to contact the manufacturer or professional who needs help troubleshooting the problem.
Final Takeaway
Always make time to provide regular cleaning and maintenance to your solar lights, to ensure they stay in top condition. This continued effort will dramatically save us from the cost and hassle of repair and replacements. So, remember these tips to make your solar lights shine bright and illuminate your outdoors.


